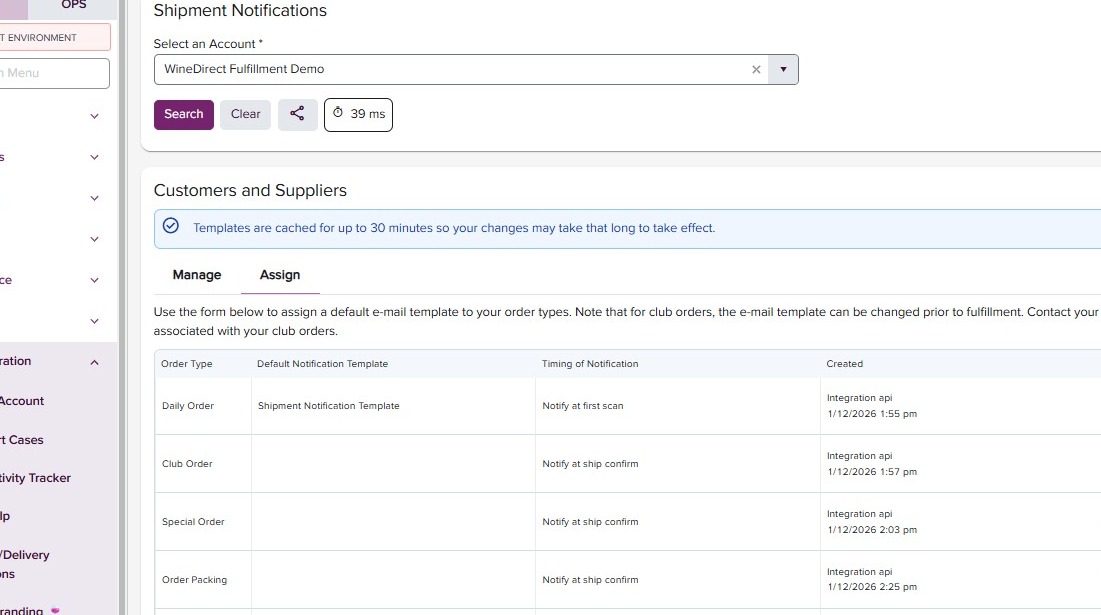
Shipment Notifications
With our updated email editor, you now have complete creative control over your notification templates. An intuitive drag-and-drop interface, HTML editing, template cloning and creation, plus a new ‘Out for Delivery’ trigger all come together to elevate your shipping communications. Follow along below for a step by step tutorial to configure.Templates
To configure a Shipment Notification, start by adding a template. Go to the Administration menu and navigate to Templates >> Shipment, then select your account from the dropdown. Here, you’ll see any tempaltes you already have on file. If none exist, click ‘Add Template.’- Click “Add Template”
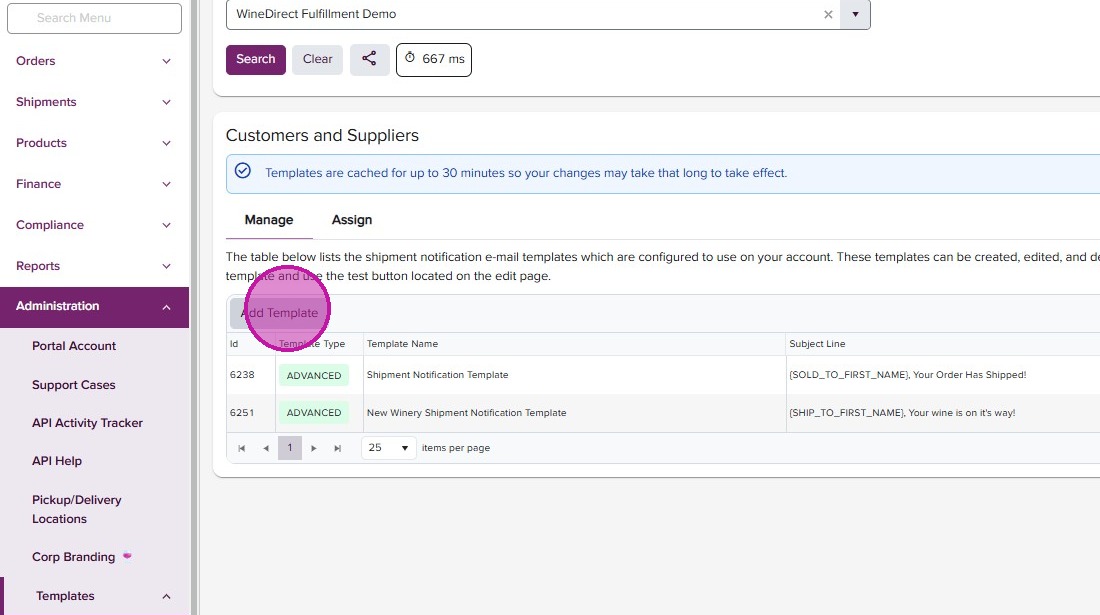
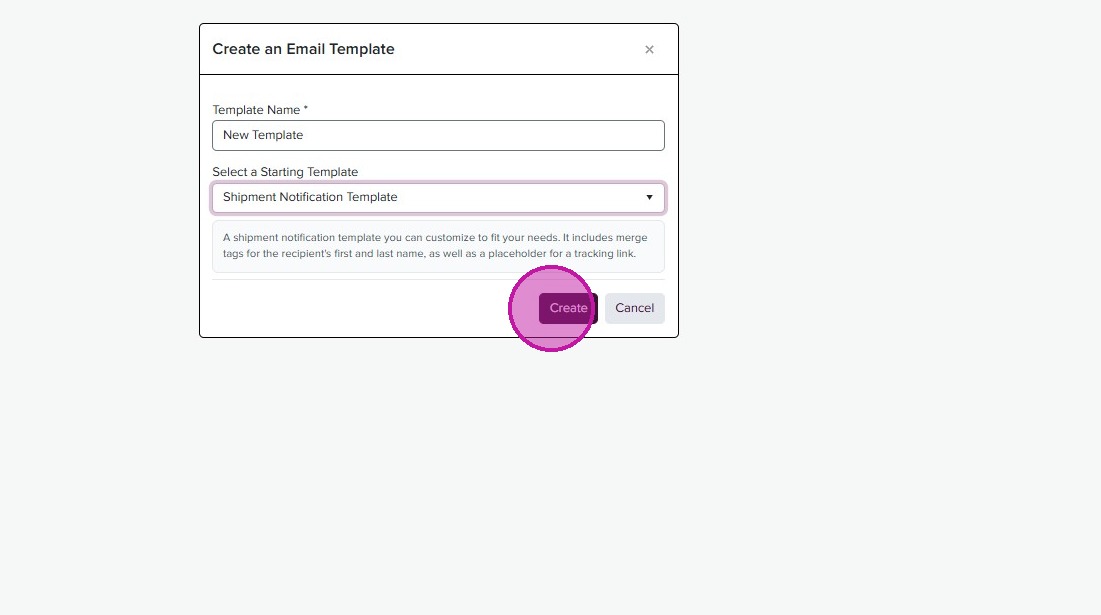
- Complete the “Template Name” field.
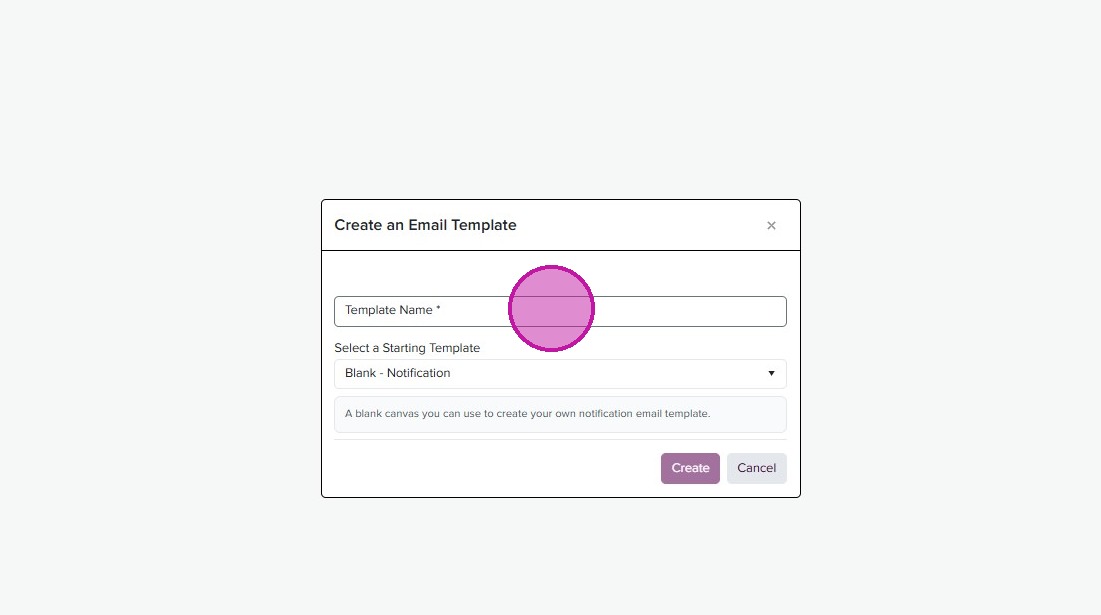
- Start a blank template with ‘Blank - Notification’ or select one of our prefilled templates to get started.
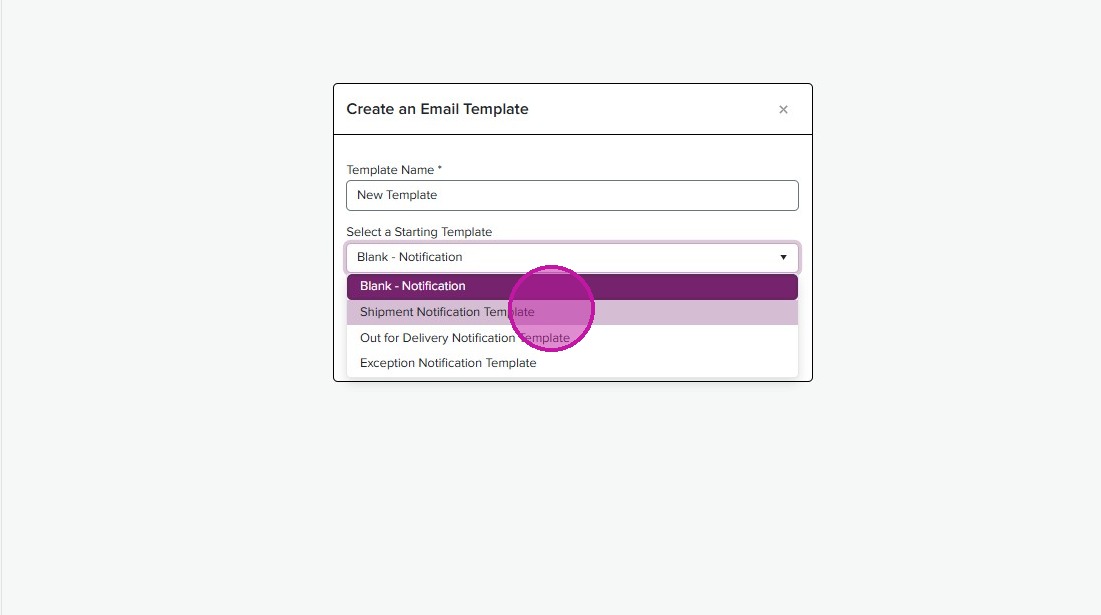
- Click “Create”
Clone
- To Clone an existing template, click on the three dots to the right.
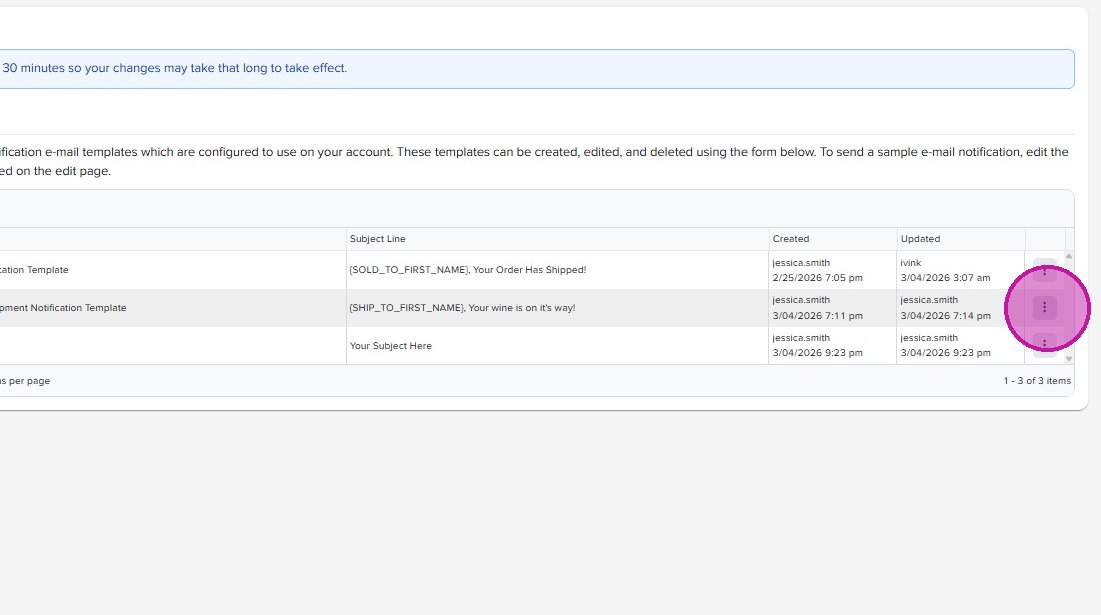
- Click “CLONE”
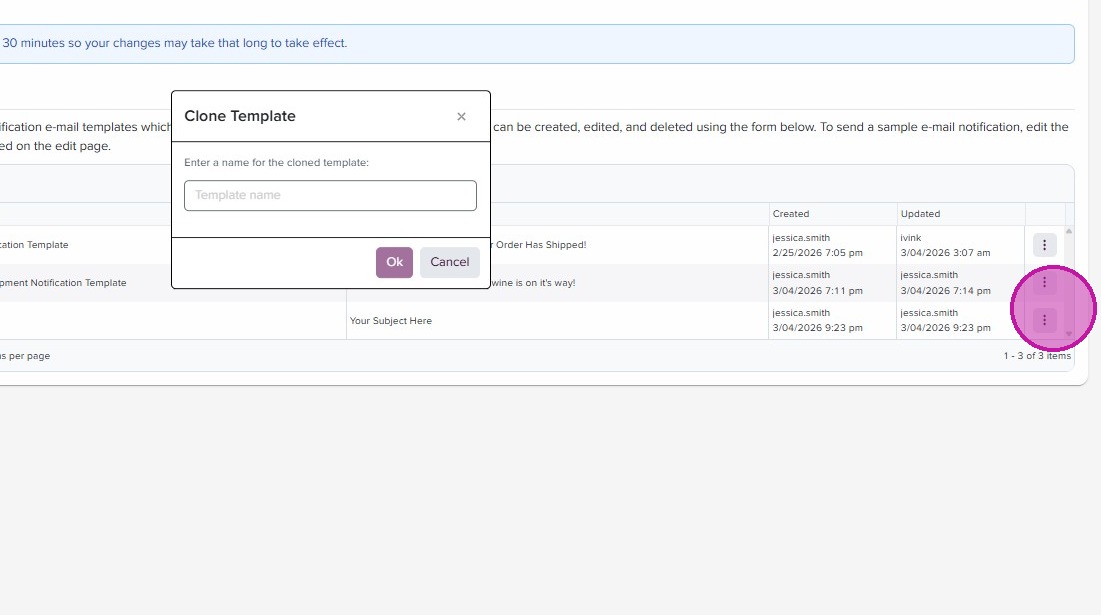
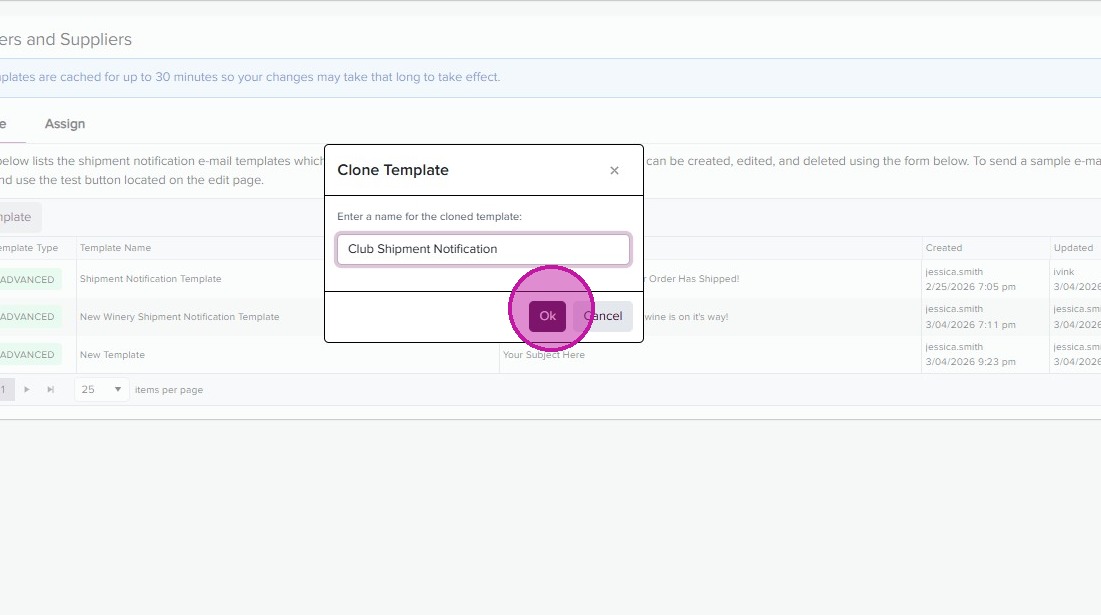
- Rename your new template in the “Template name” field.
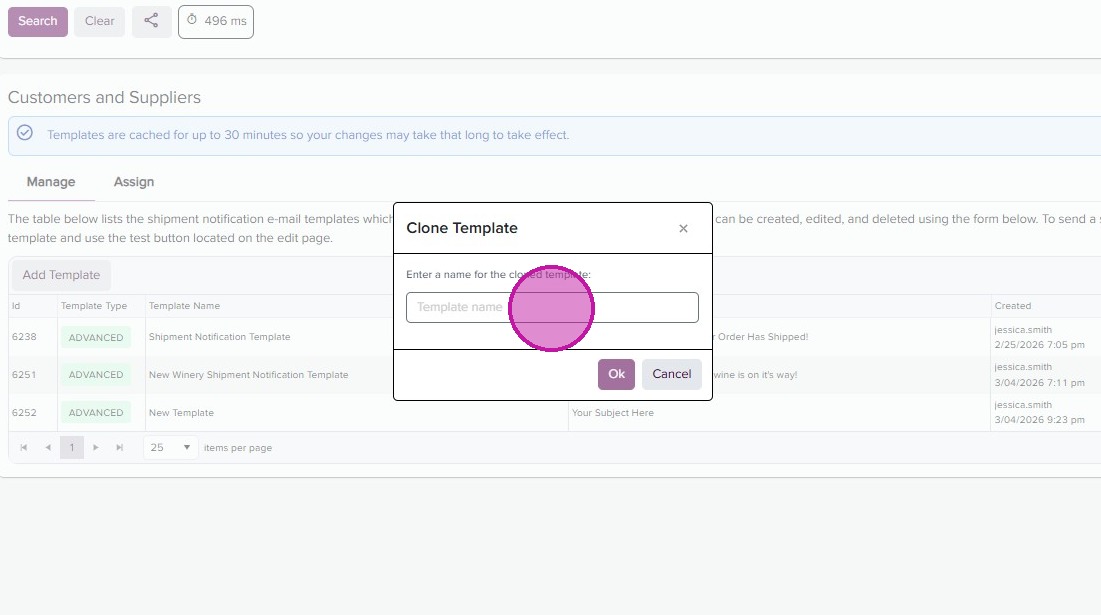
- Click “Ok”
Fields
- In the Template Editor, use the ‘Fields’ tab to configure the email subject, send from and reply-to fields and more.
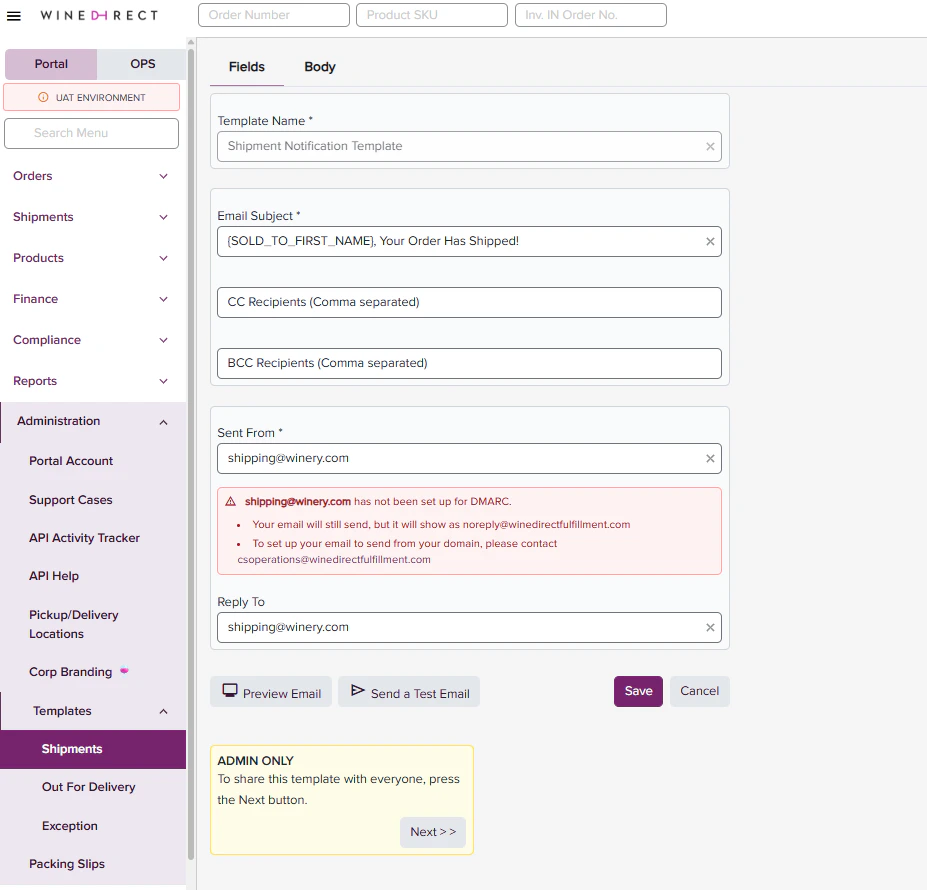
- You can use merge tags within your subject line to personalize your emails.
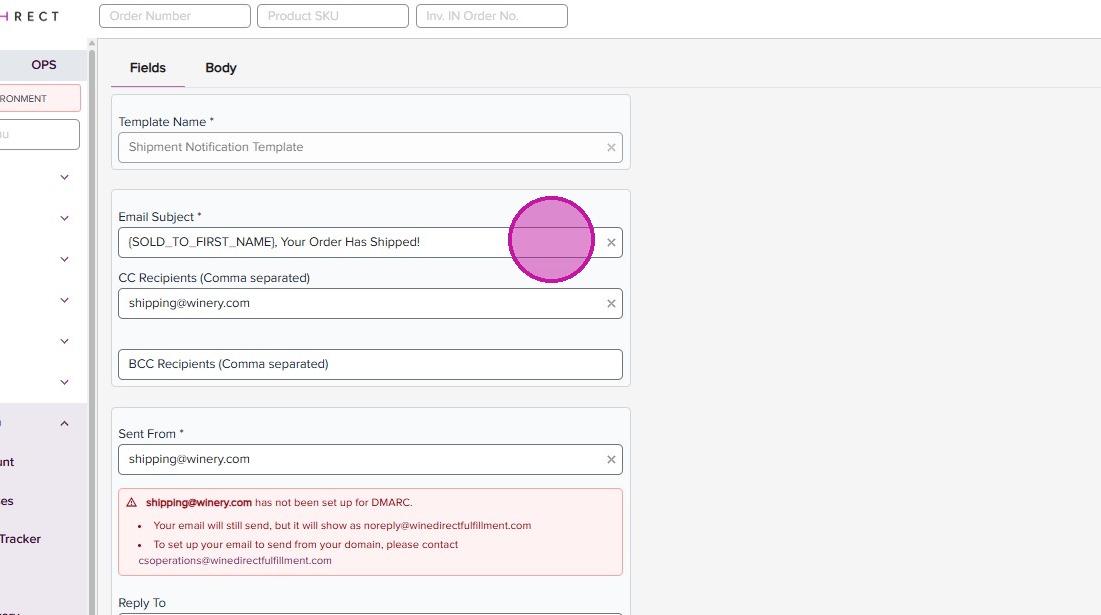
- You can cc’ or bcc’ team member(s) or department(s) to also receive the shipment notification.
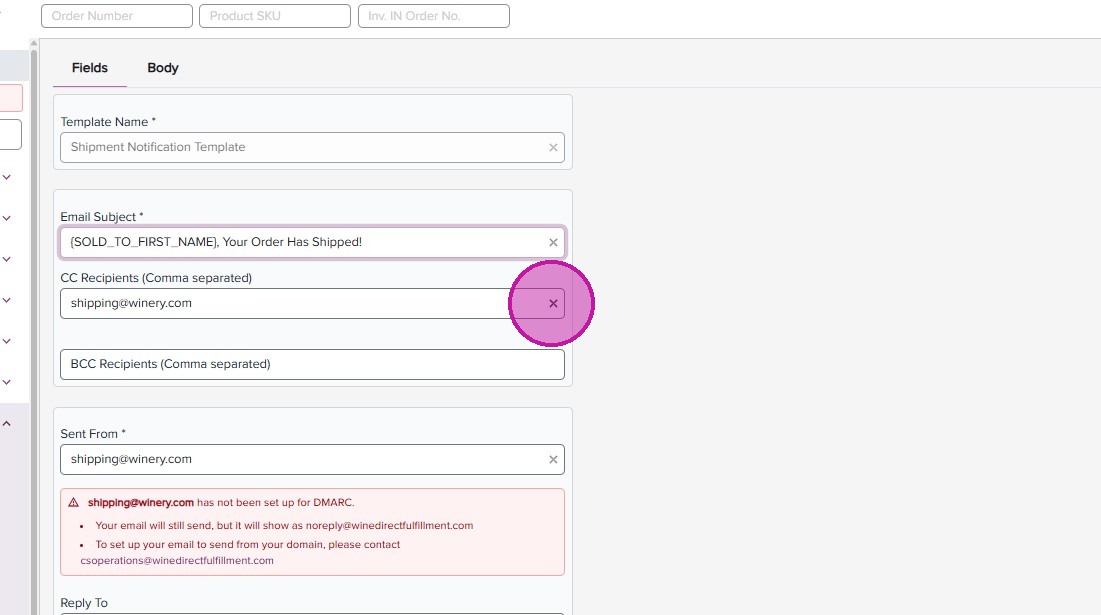
- Fill in the ‘Sent From’ field with the email you’d like to display the email from.
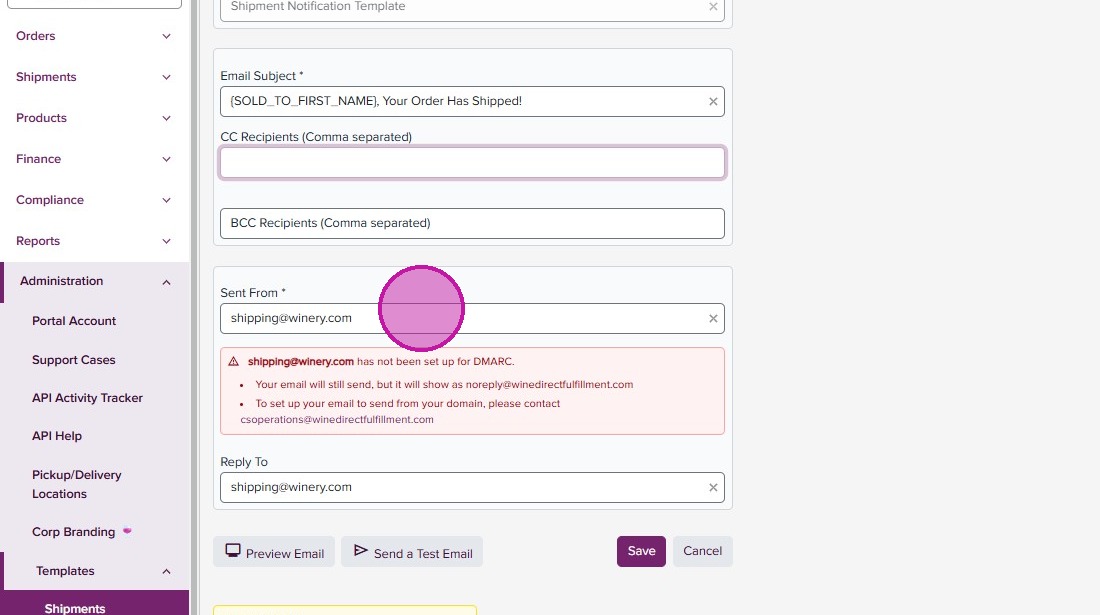
- Complete the ‘Reply To’ field with the email you’d like to receive replies. This can be different than the displayed ‘Sent From’ email.
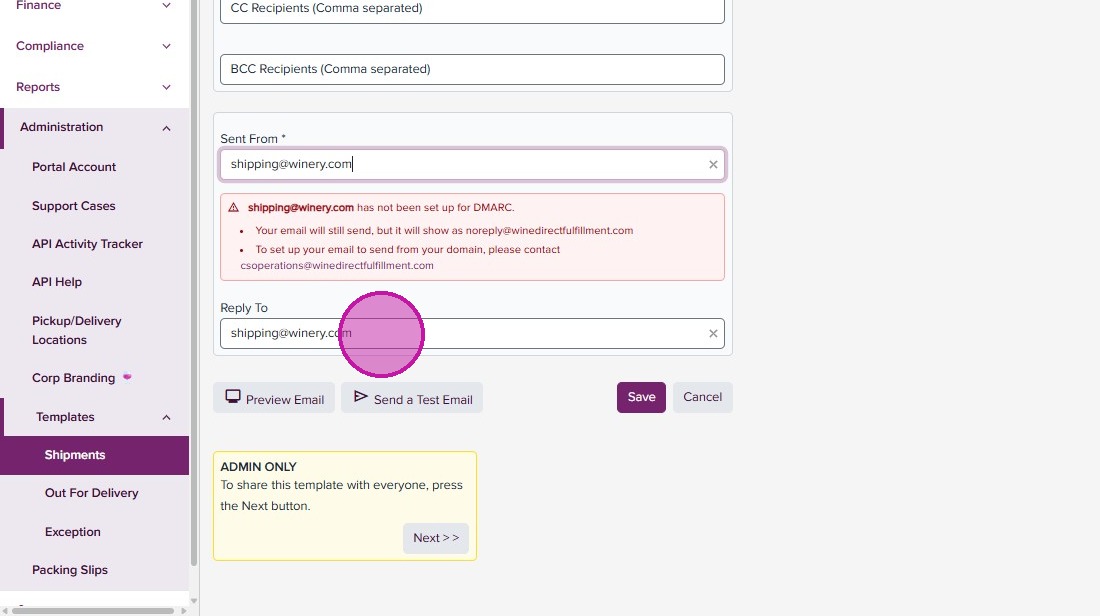
- Click “Save”
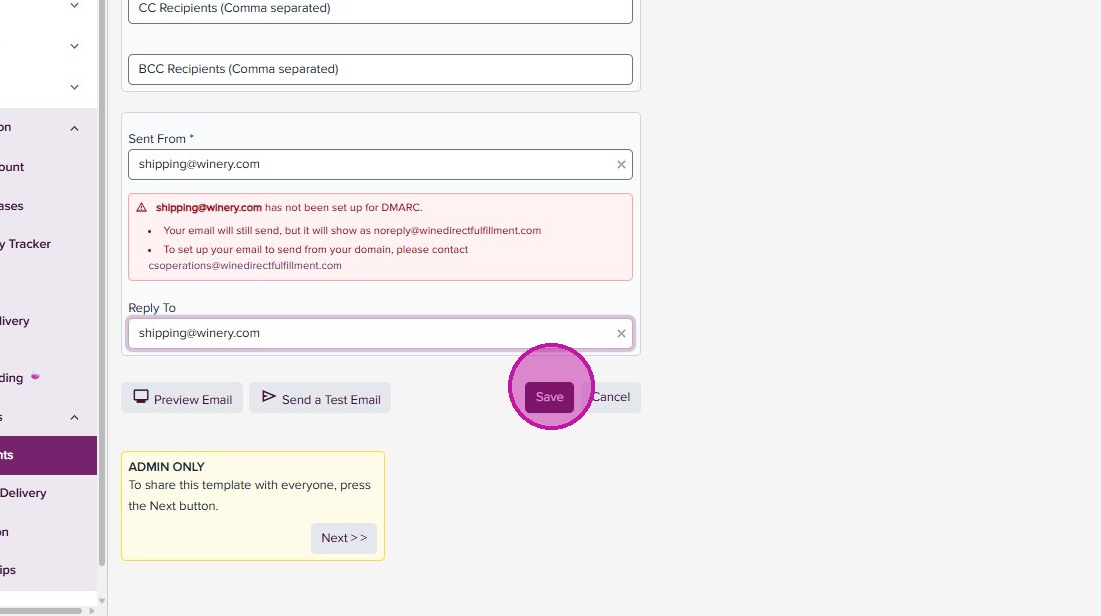
DMARC
The Template Editor will check if the ‘Sent From’ email has been configured for DMARC. If it has, you will see a green notification, if not you will see a red alert with next steps. DMARC configuration allows for WineDirect Fulfillment to send emails from your domain. If this is not configured, emails will show as sent from “noreply@winedirectfulfillment.com”. To set up, ensure you or your support team has access to your company’s DNS settings and contact us at csoperations@winedirectfulfillment.com.Body
- Within the Template Editor, click on the ‘Body’ tab.
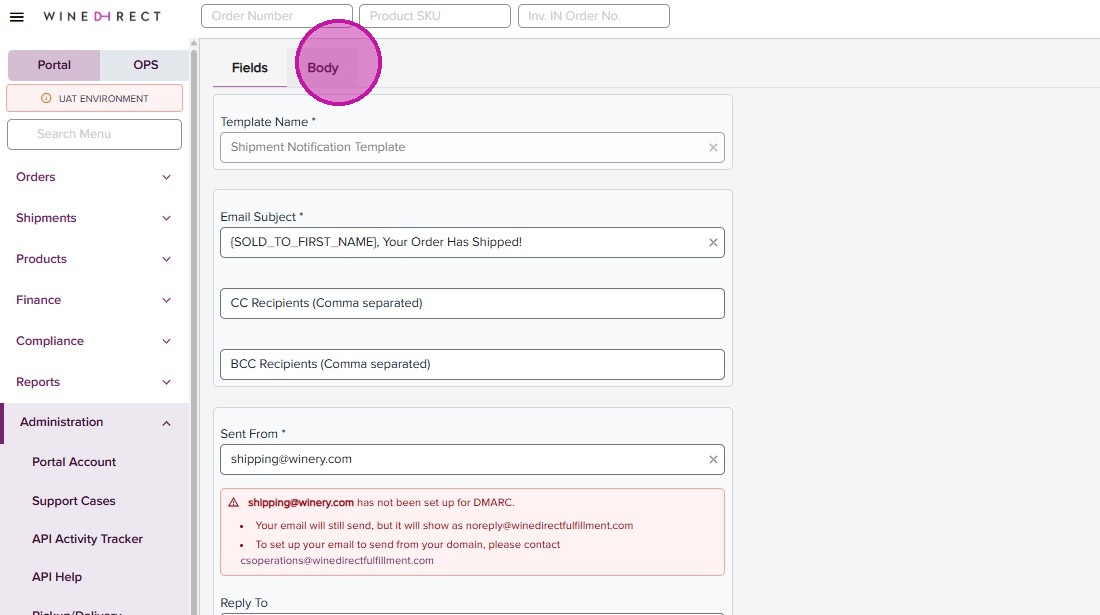
- You can edit the template however you’d like. Click on the banner image to add your own.
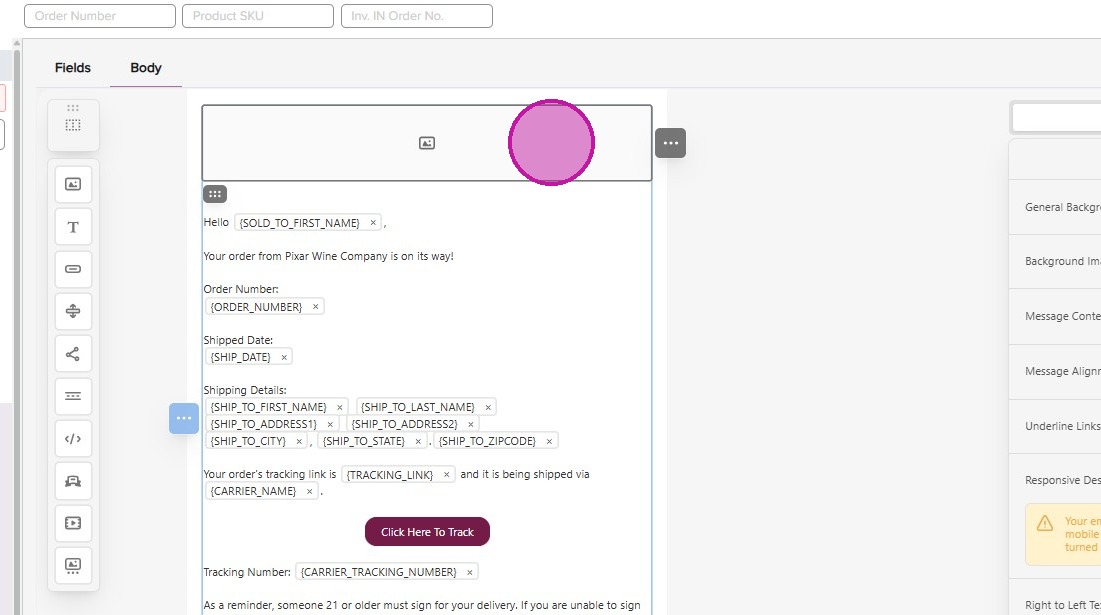
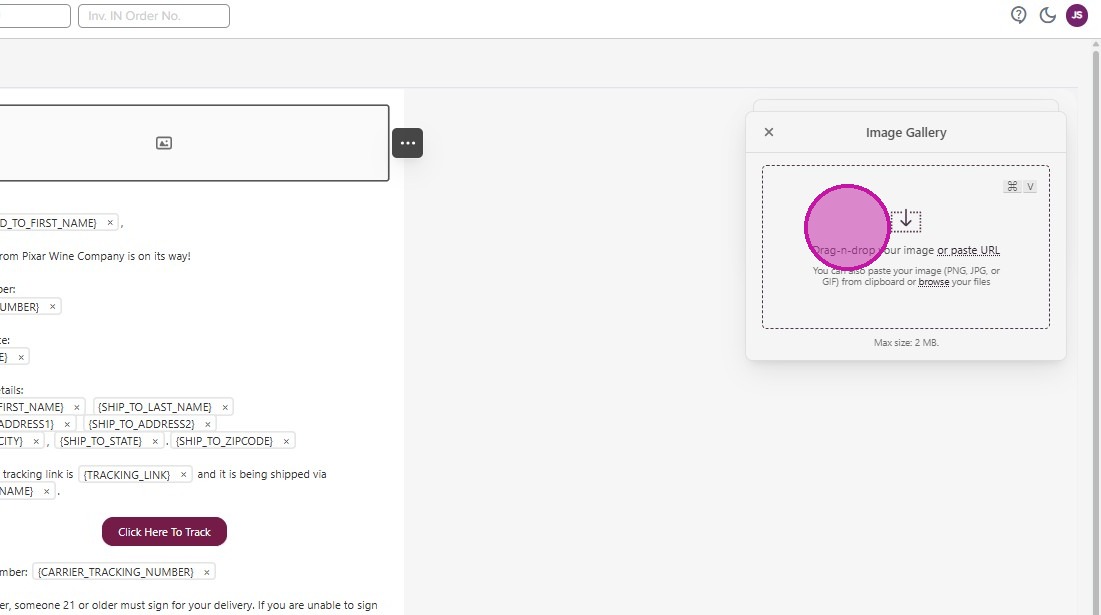
- The image import prompt opens for you to upload, drag and drop or paste your image URL.
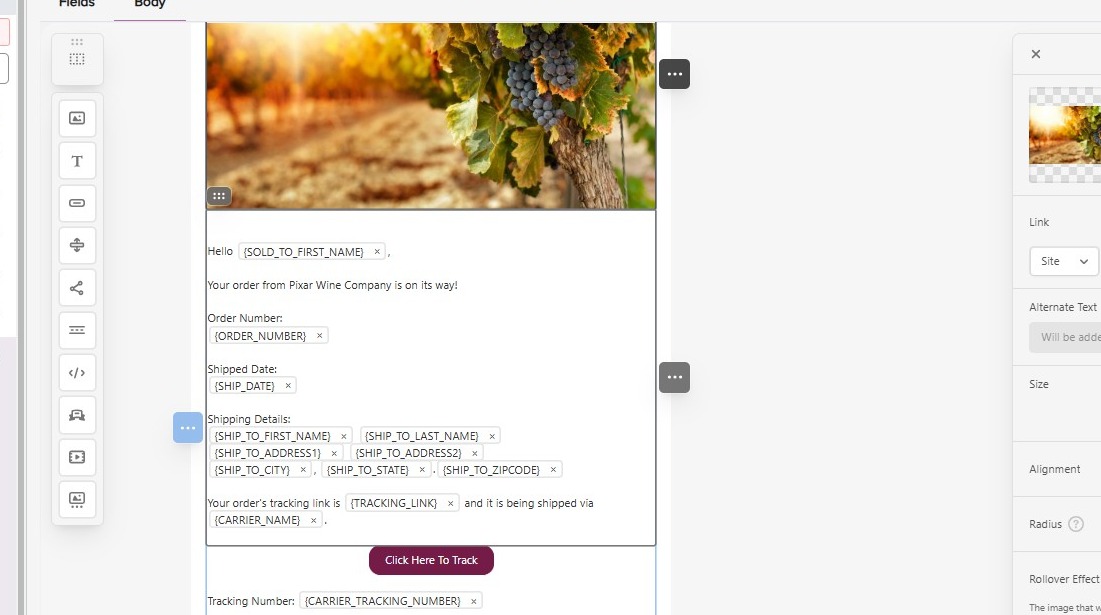
- Once placed, you can further edit the image to link through to your site.
- Down in the text box, you can edit the verbiage and add or change the Merge Tags here.
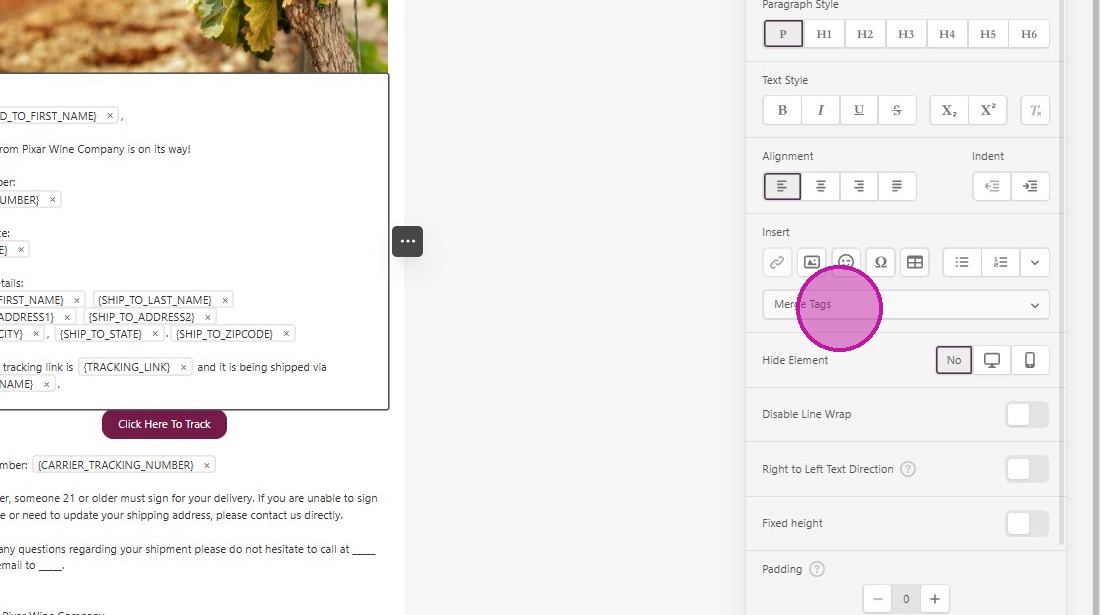
- All available Merge Tags will be in the dropdown to insert.
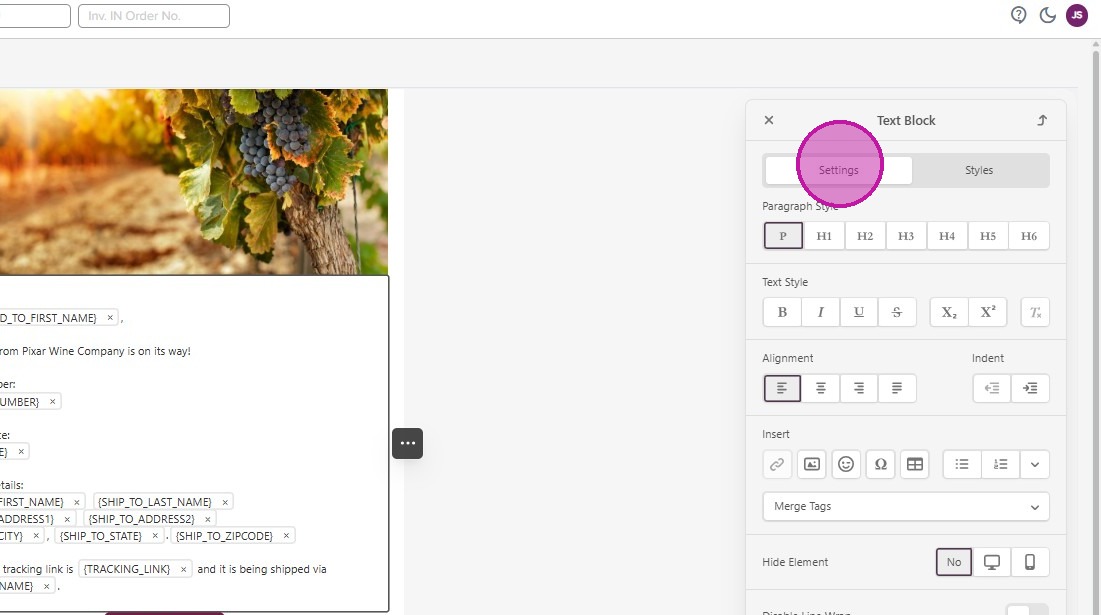
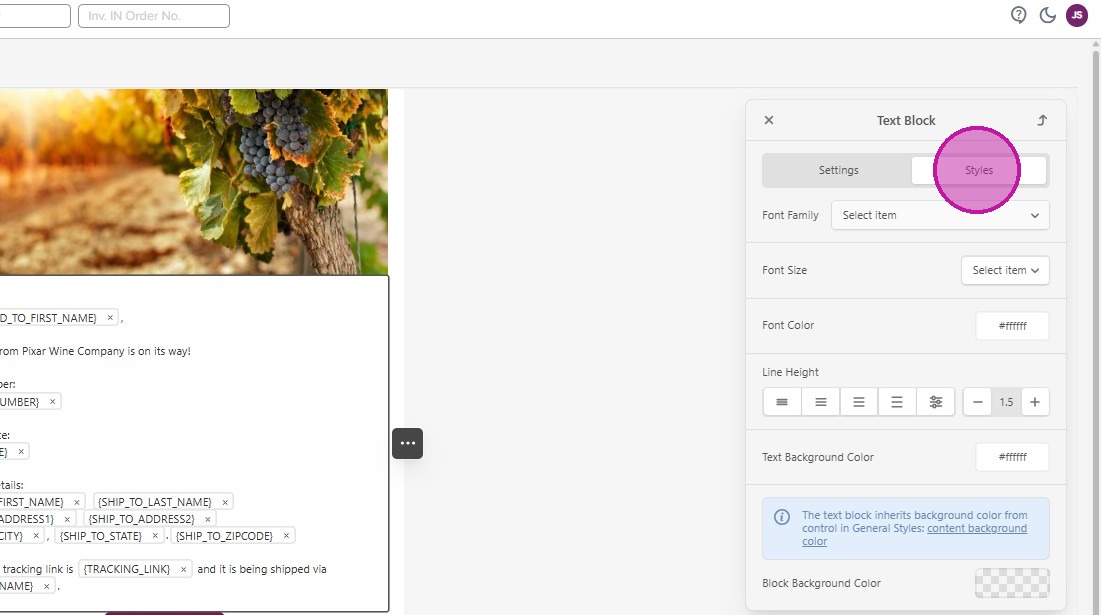
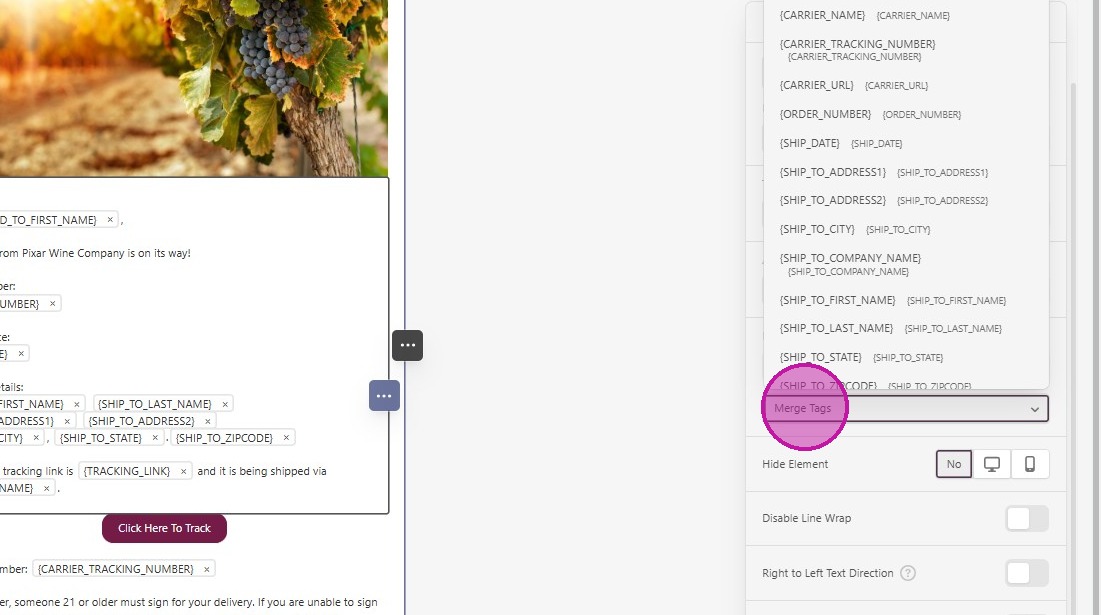 .Within the editing panel, you can format and change the styles of the contents of your text box.
- You can click on the template’s button to change the style and to edit the link.
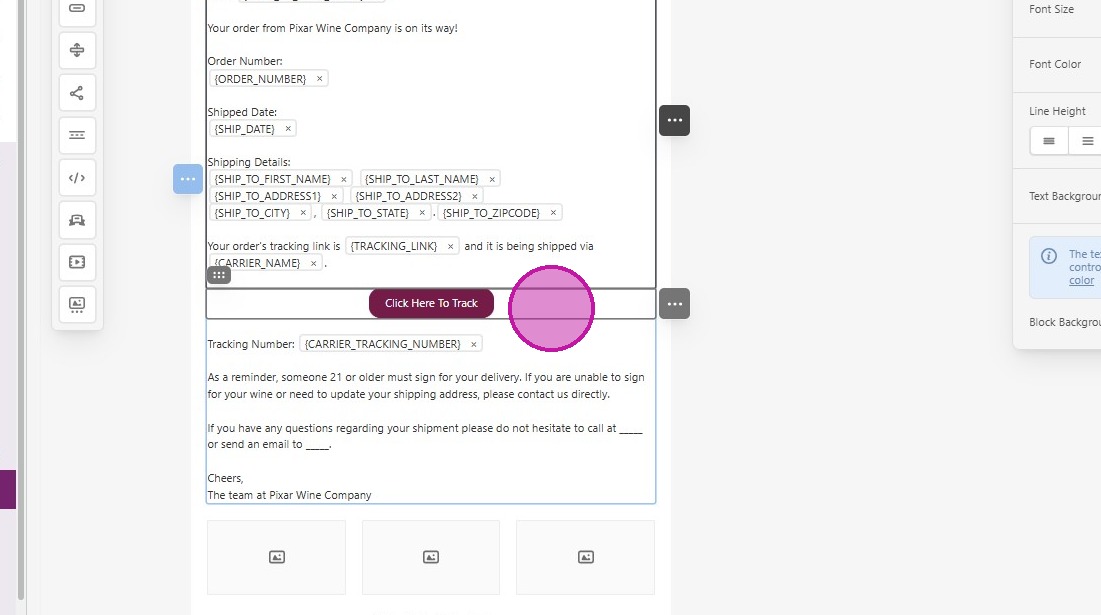
- Currently, we have the Merge Tag for ‘Tracking Link’ associated, but you can change this to any URL you’d like.
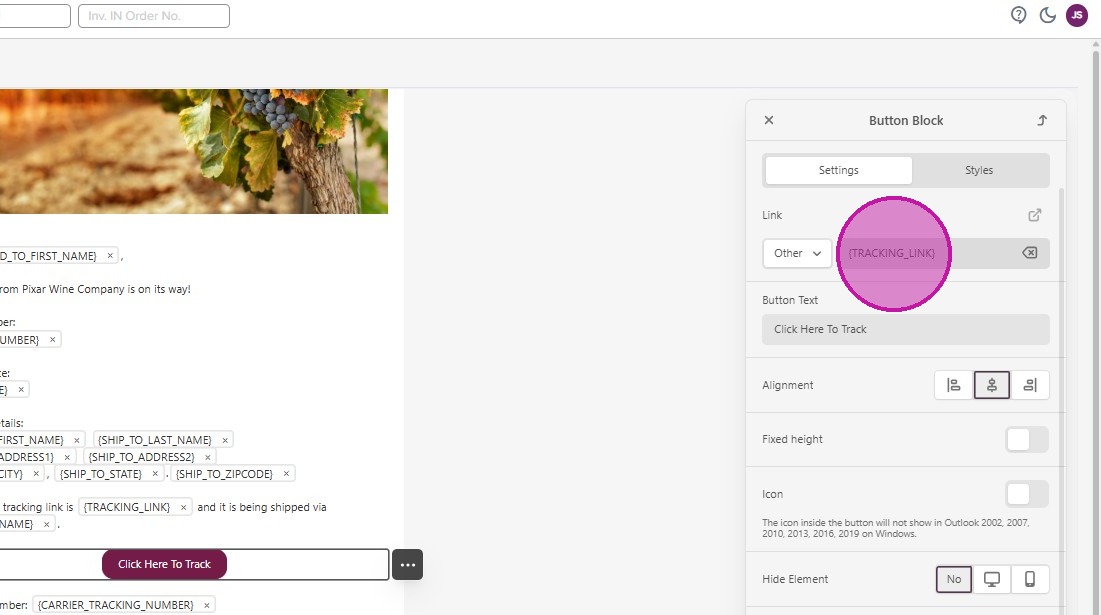
- Further edit the text with your contact information and closing details.
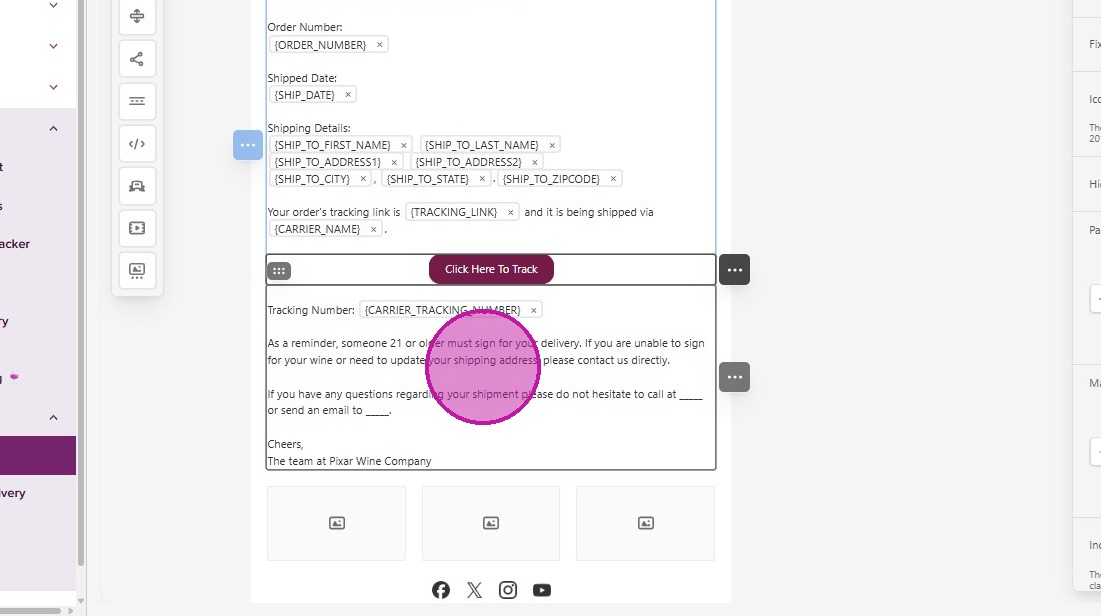
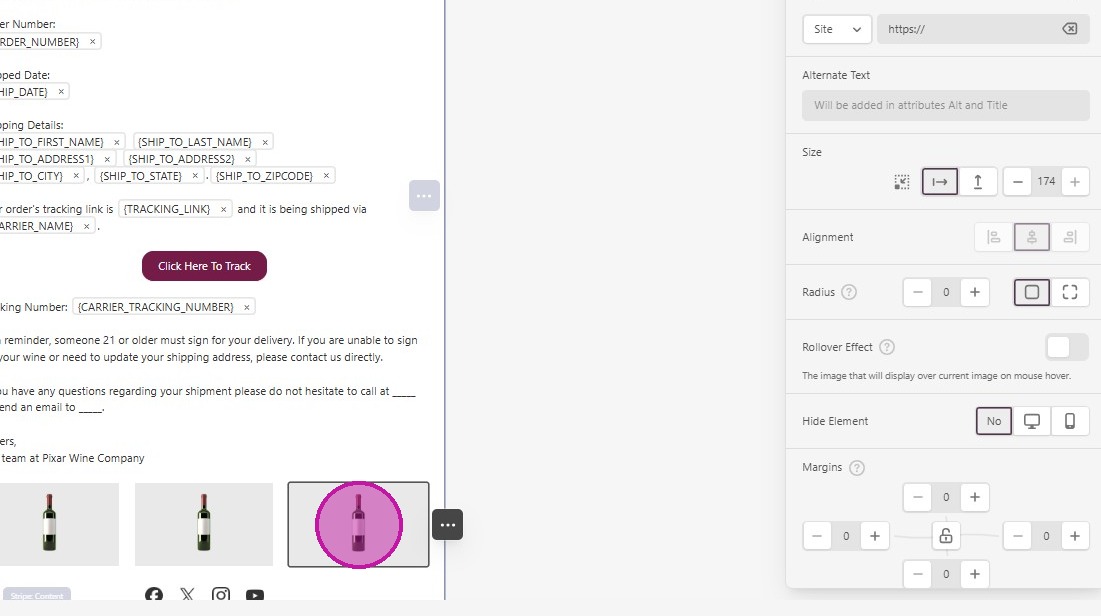
- The template includes an image section where you can include bottle images with links to your store, or other imagery that matches your branding.
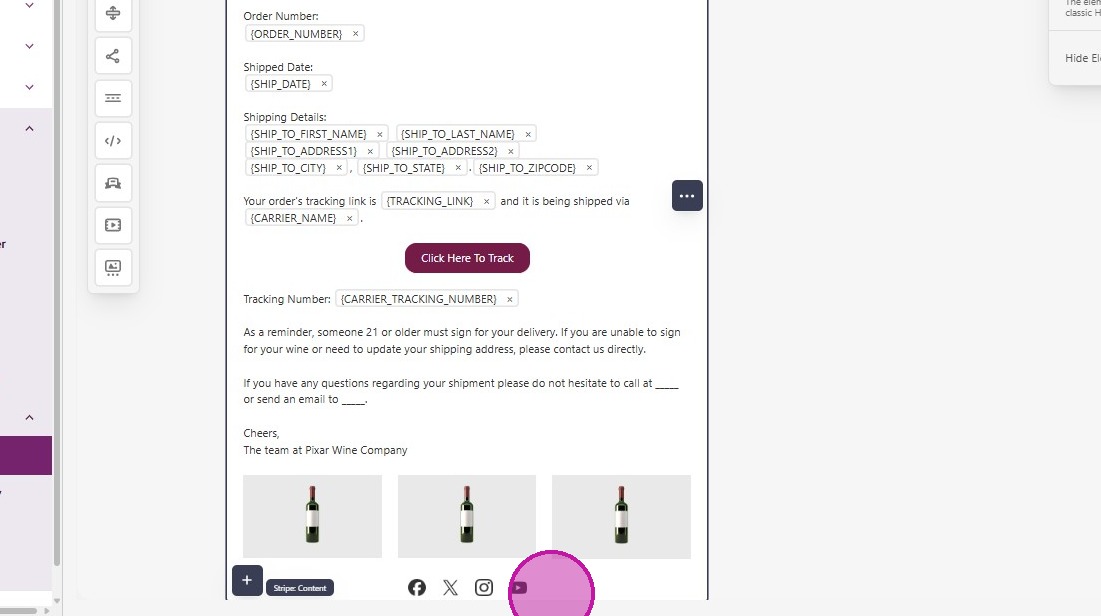
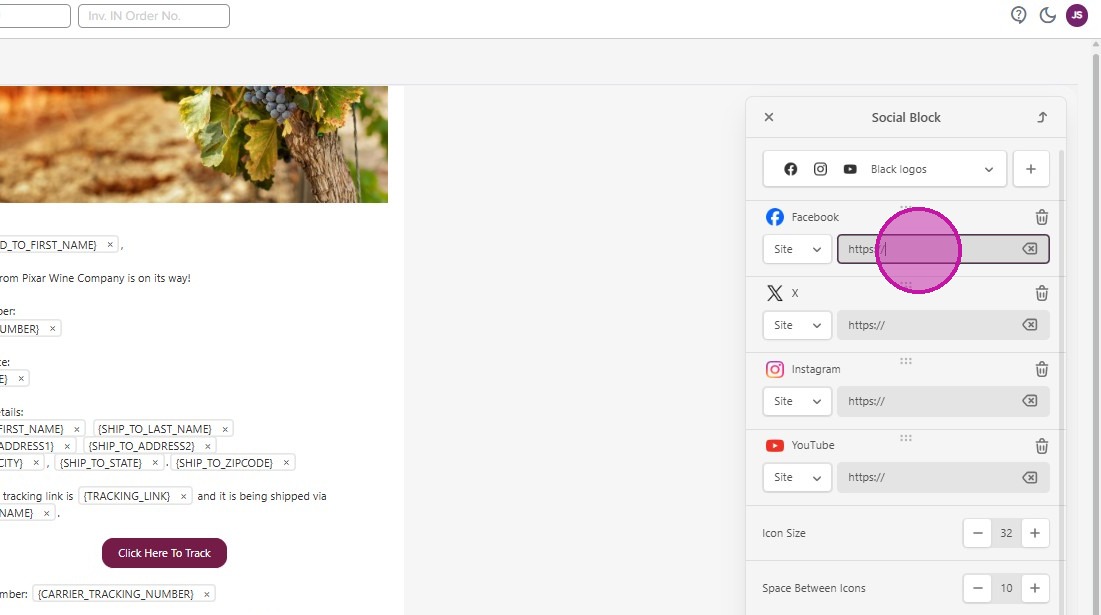
- There is also a section at the bottom of the email where you can add your social links.
- Click into the image and edit with the panel on the right.
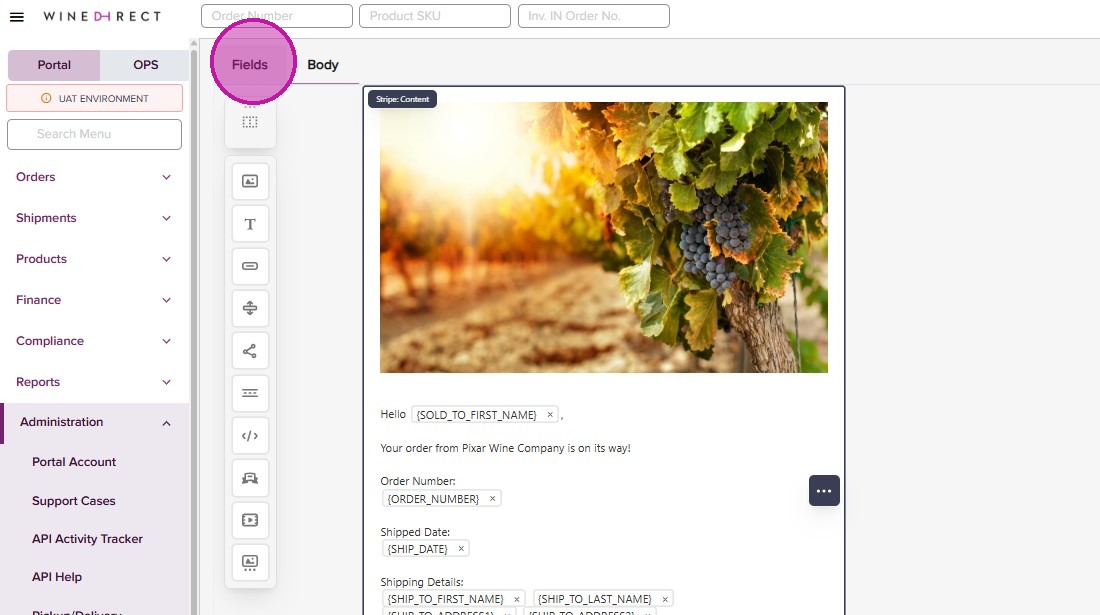
- You can also use the panel on the left to add content and containers to your layout. Once complete, click back on the ‘Fields’ tab.
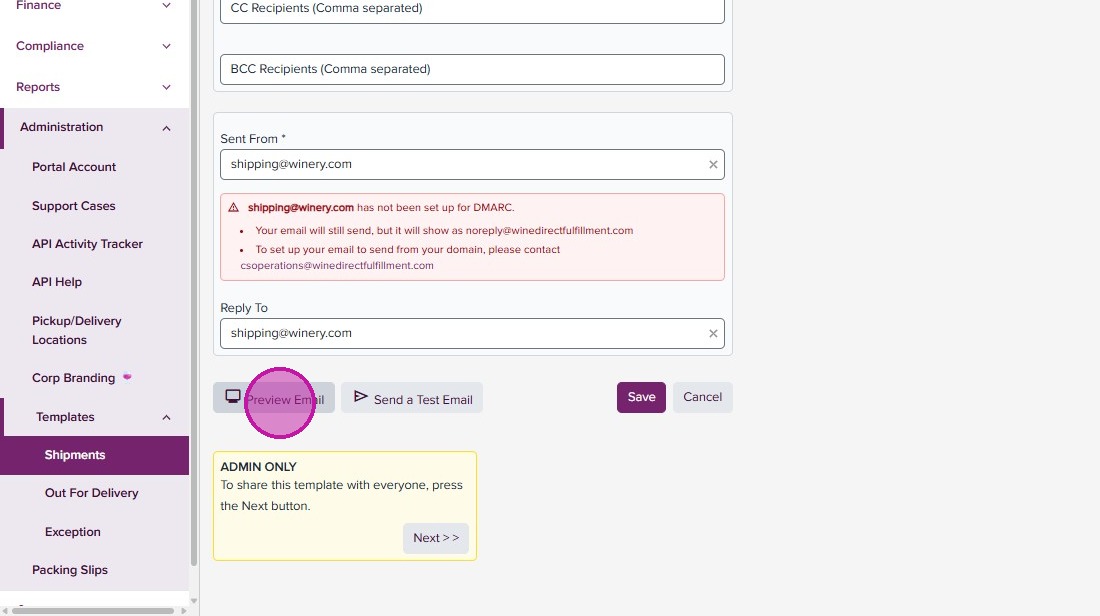
- You can then preview the email in a browser, or send yourself a test email.
- Click “Send a Test Email”
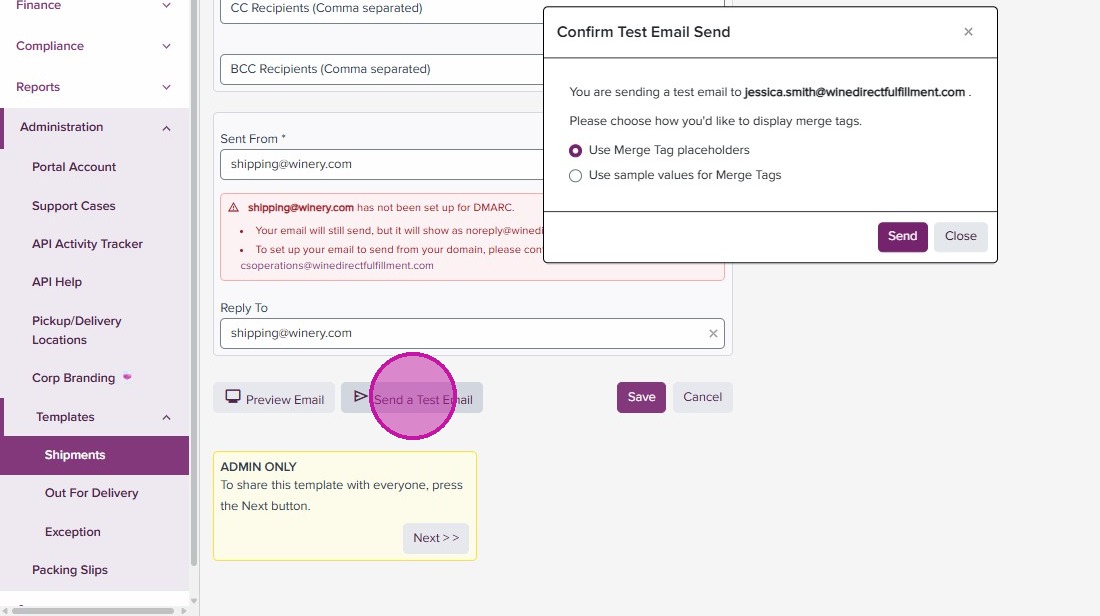
- Click “Send”
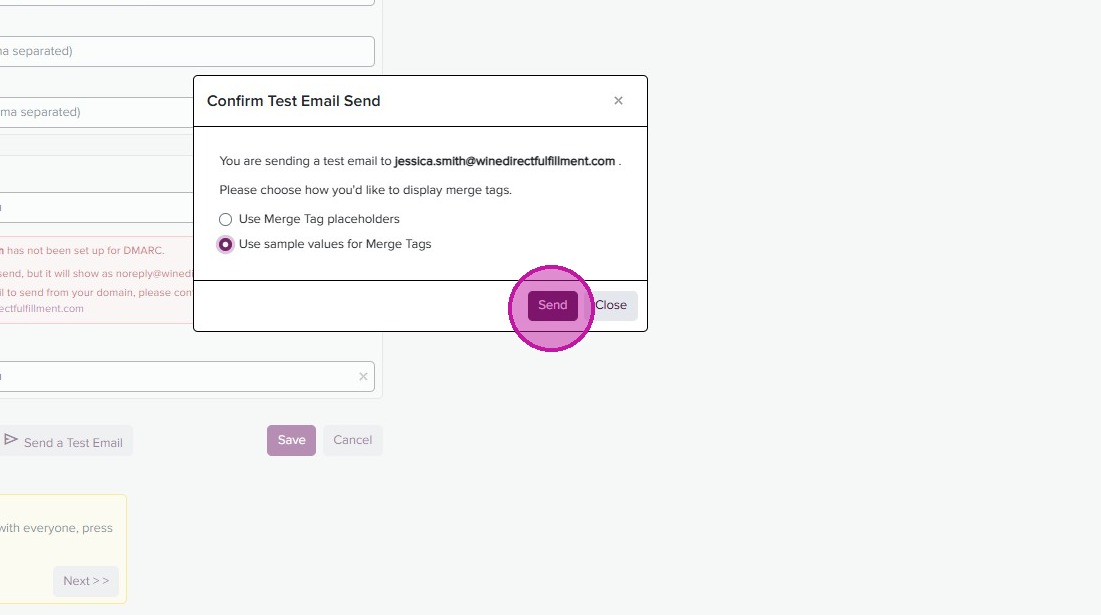
- You can go back into the ‘Body’ tab to edit further, or once happy with your design you can click ‘Save’.
Merge Tags
Merge Tags are a great way to personalize your message and include shipment-specific details. As mentioned above, a full list of Merge Tags are in the dropdown of the editor. You can add them in any text field or button link.When the Available to Pickup Merge Tag is used, any HAL/AP address to which the shipment has been rerouted will populate here!\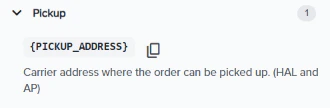
Assignments
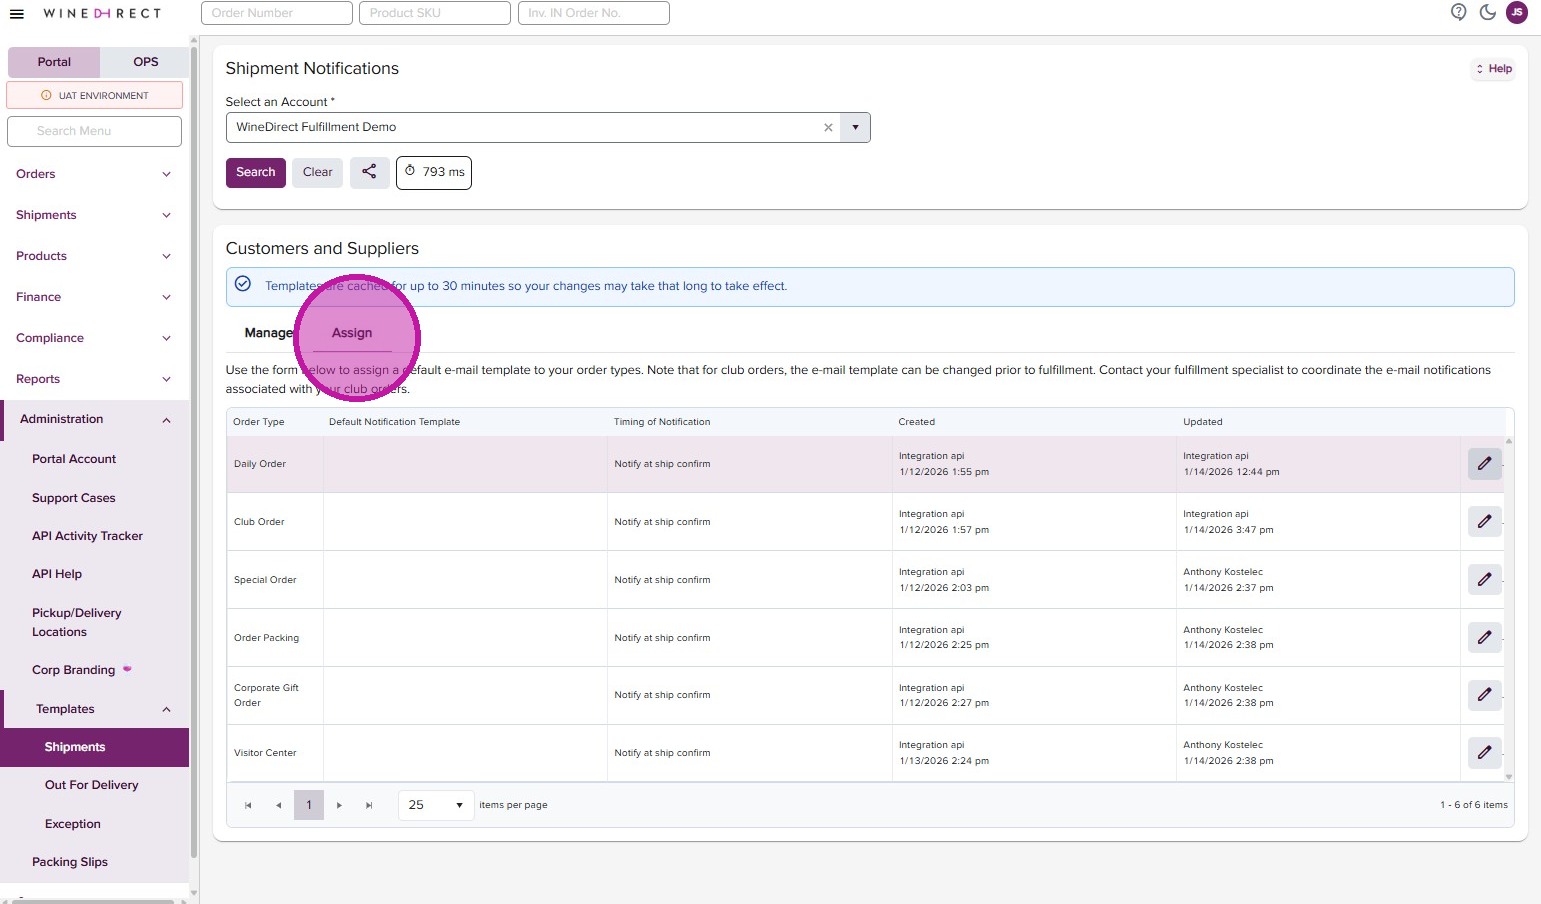
- Back in the Shipment Notification page, you can now assign your templates by order type. Click on the “Assign’ tab.
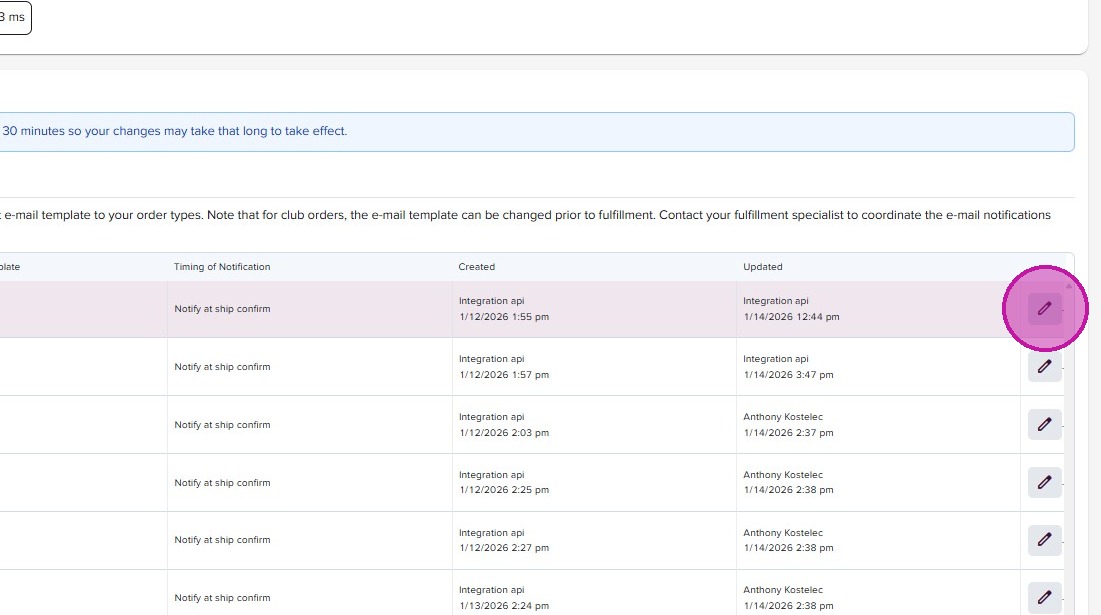
- Click the pencil ‘edit’ icon associated with the order type you’d like to assign.
- Use the dropdown to select the notification template you prefer.
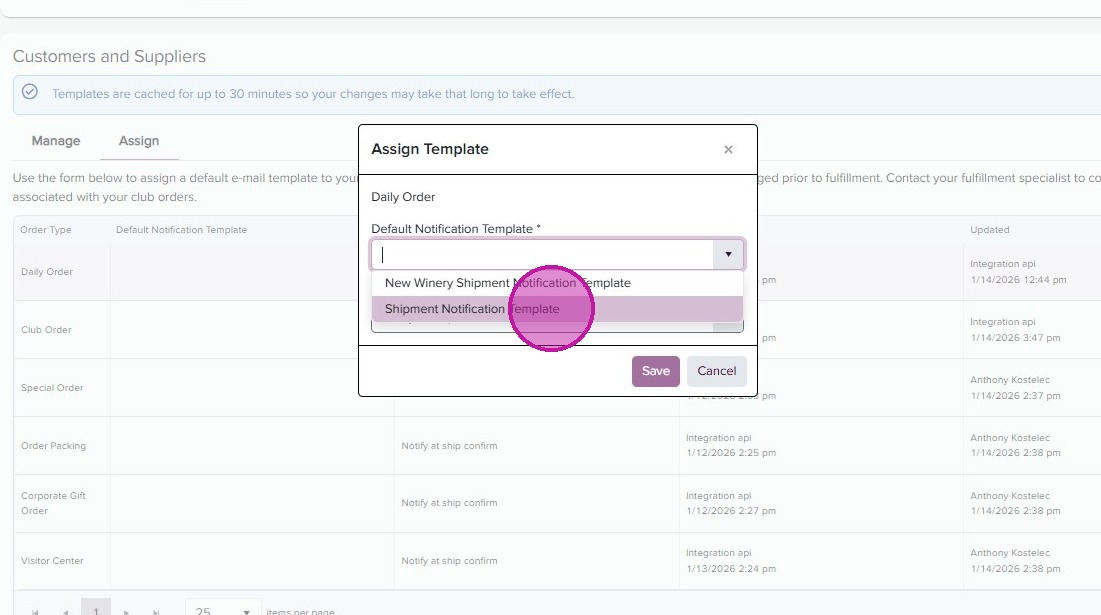
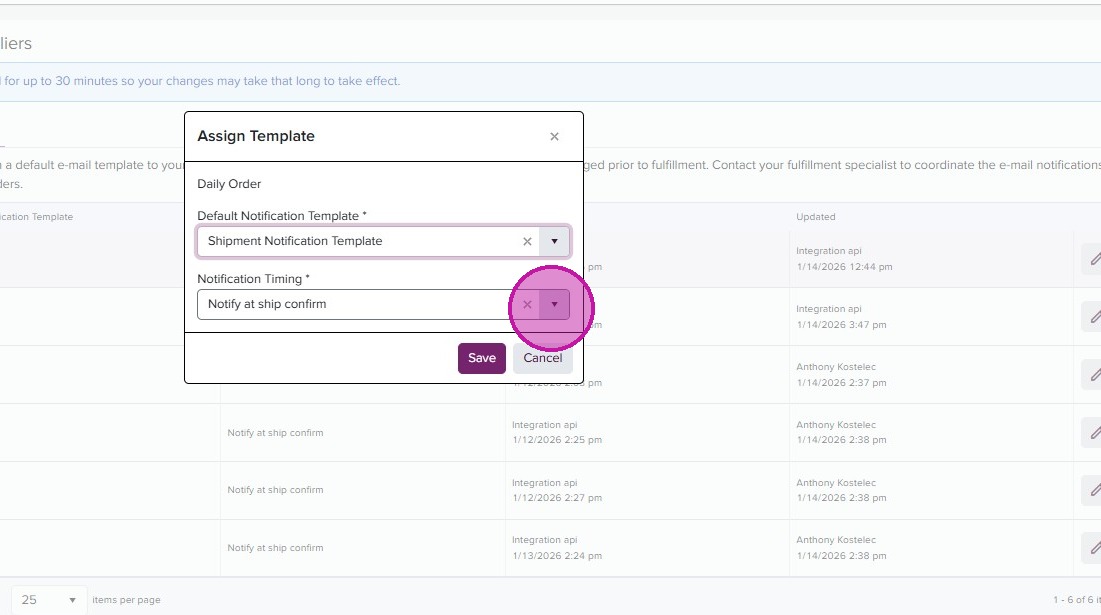
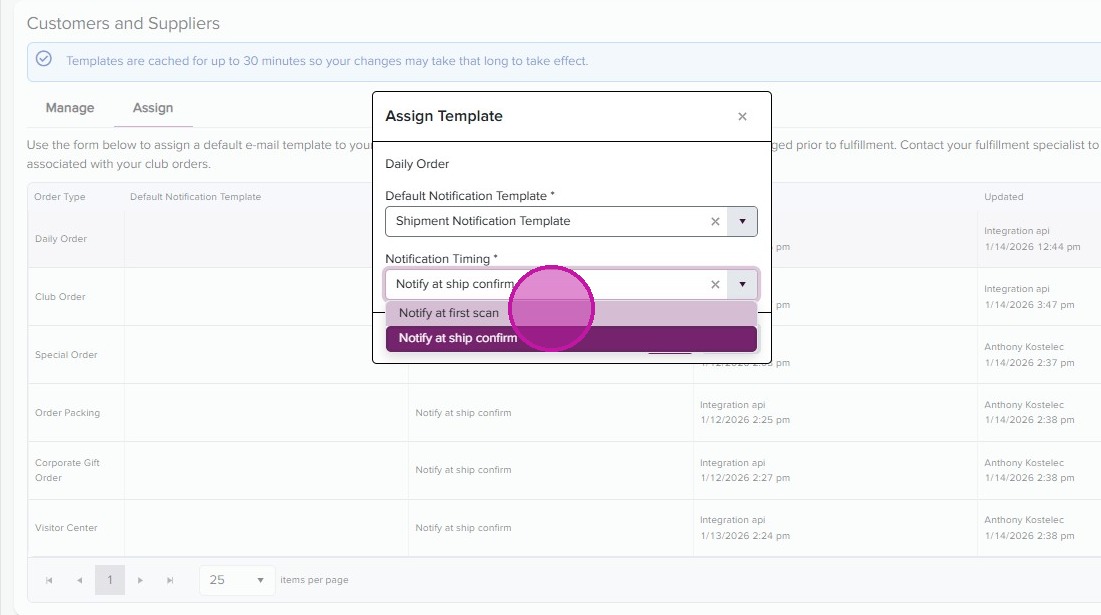
- Set the Notification Timing by using the second dropdown.
- “Notify at first scan” will send the Shipment Notification at the carrier’s first scan.
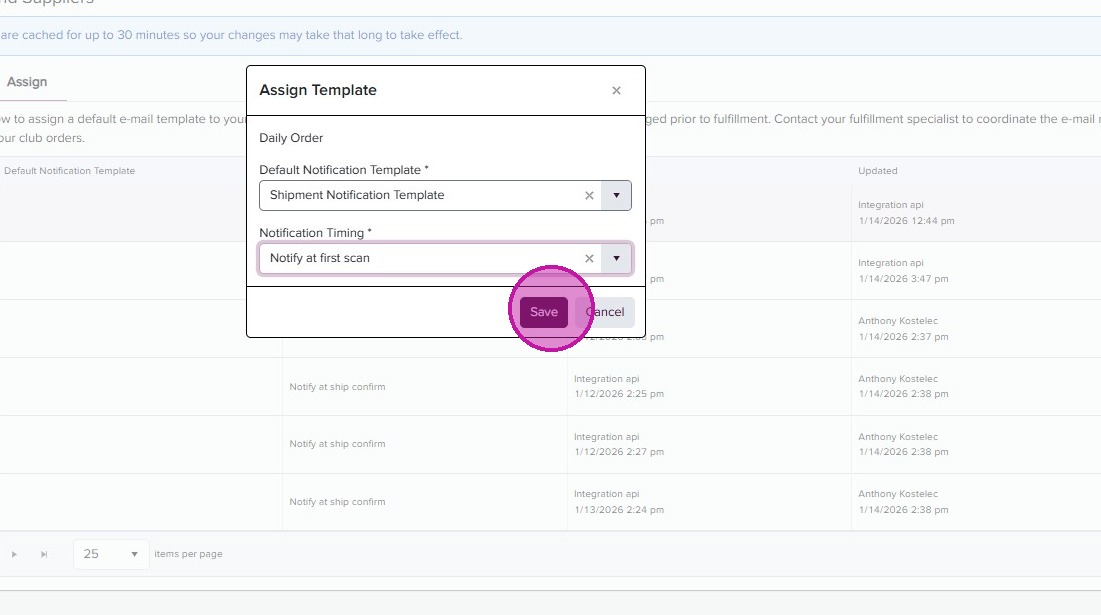
- Click “Save”
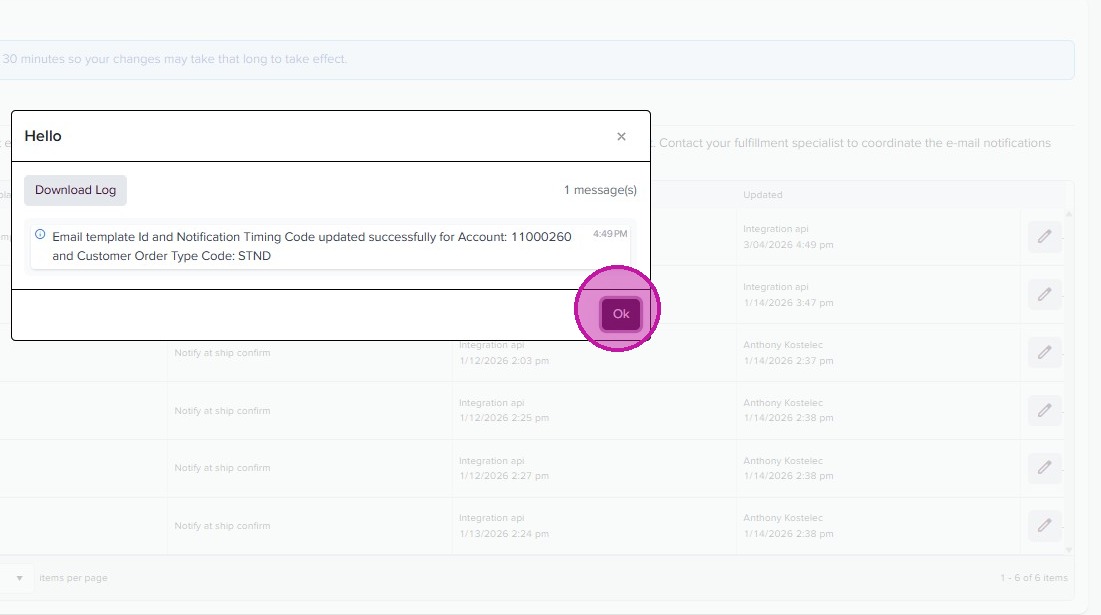
- You’ll receive a confirmation. Click “Ok”
- You can continue to assign and adjust your templates based on the order types you use and your preferences.