- Login to the WineDirect Fulfillment Portal.
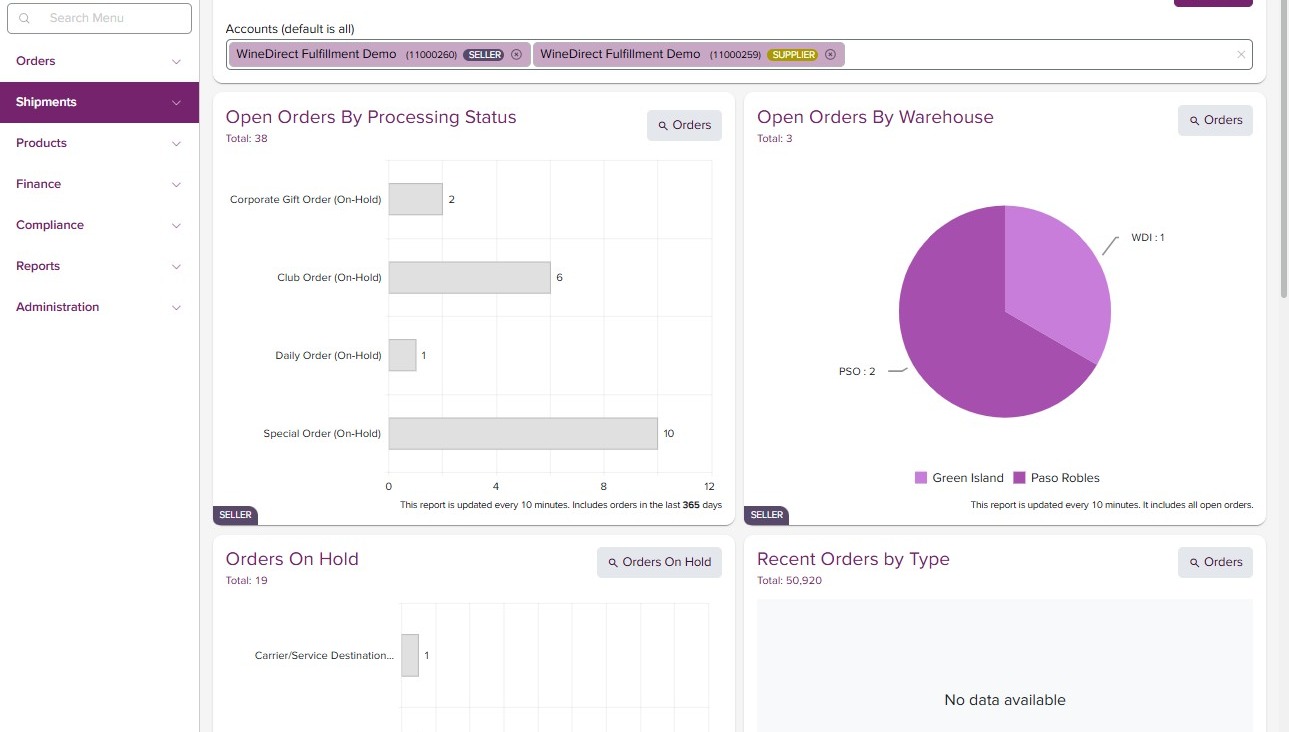
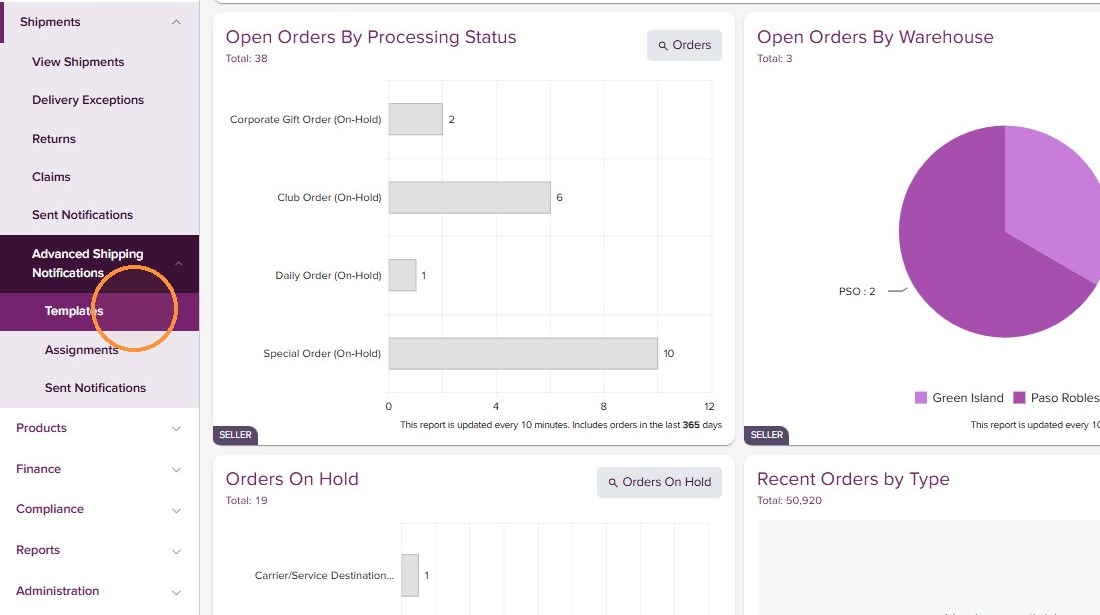
- Use the left main menu to navigate to ‘Shipments’ > ‘Advanced Shipping Notifications’ and click “Templates”.
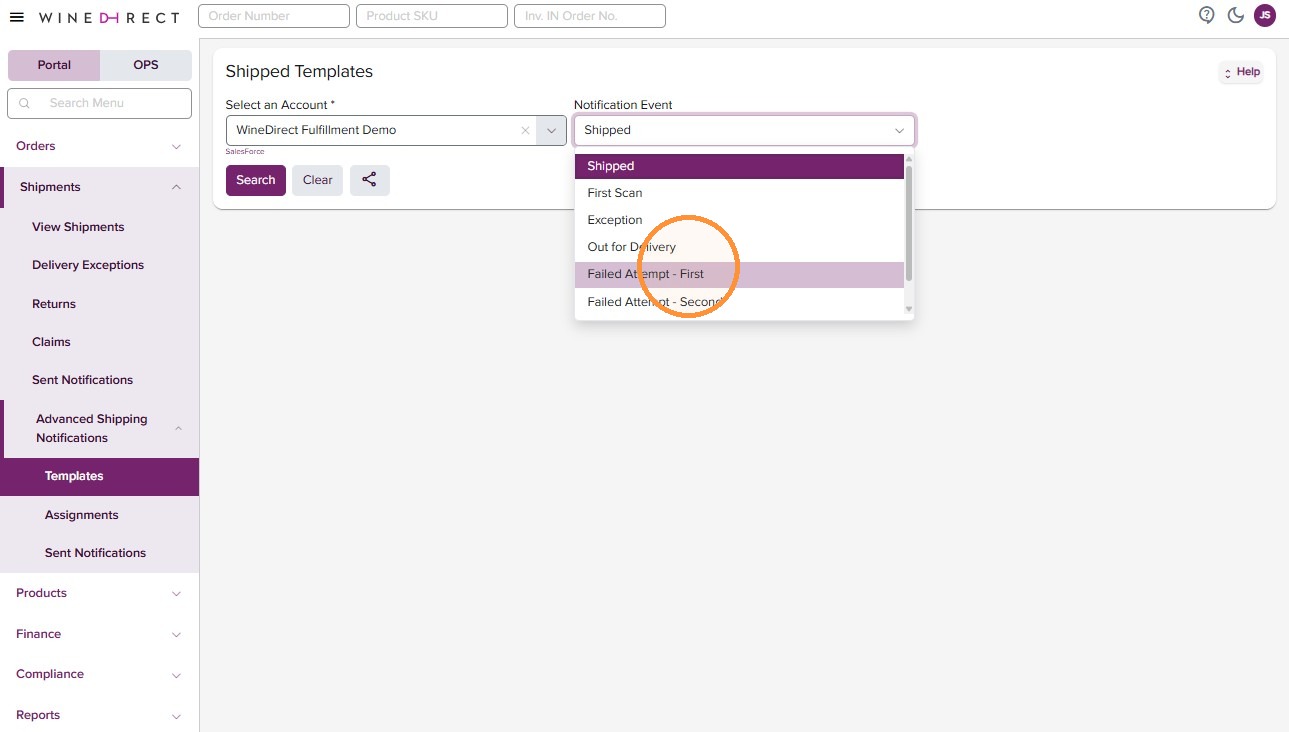
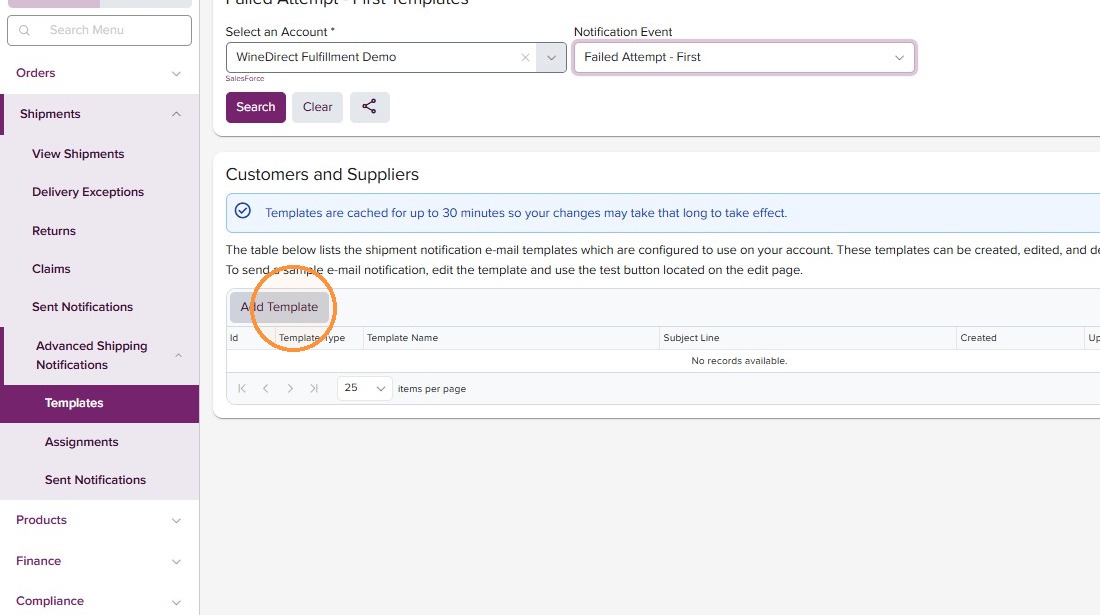
- Select your brand account and the notification event you’d like to create a template for.
- Click “Add Template”.
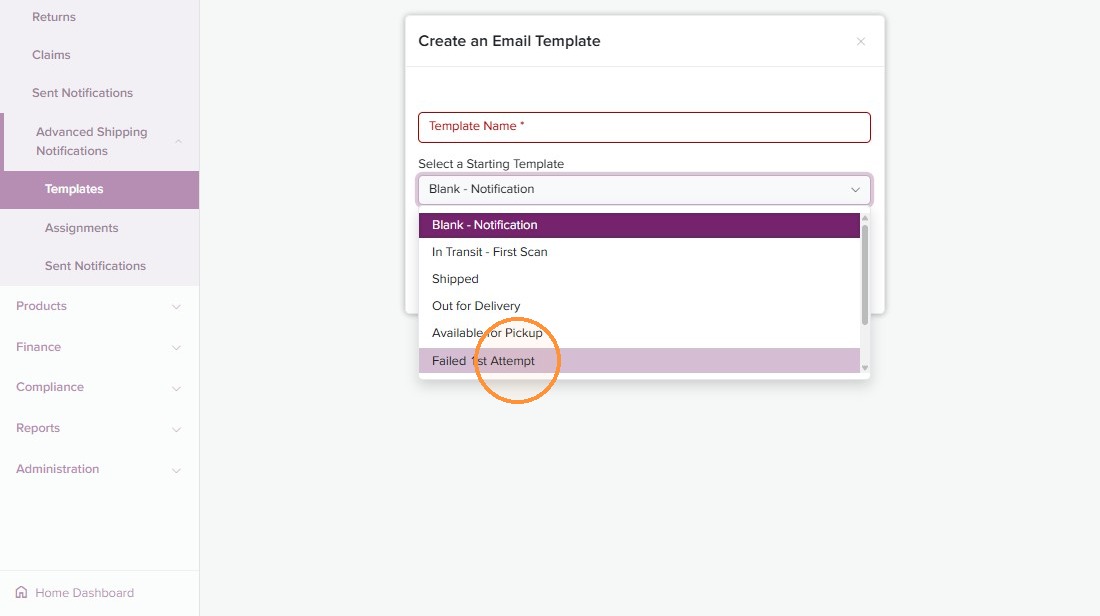
- Select a starting Template or start from scratch with ‘Blank - Notification’.
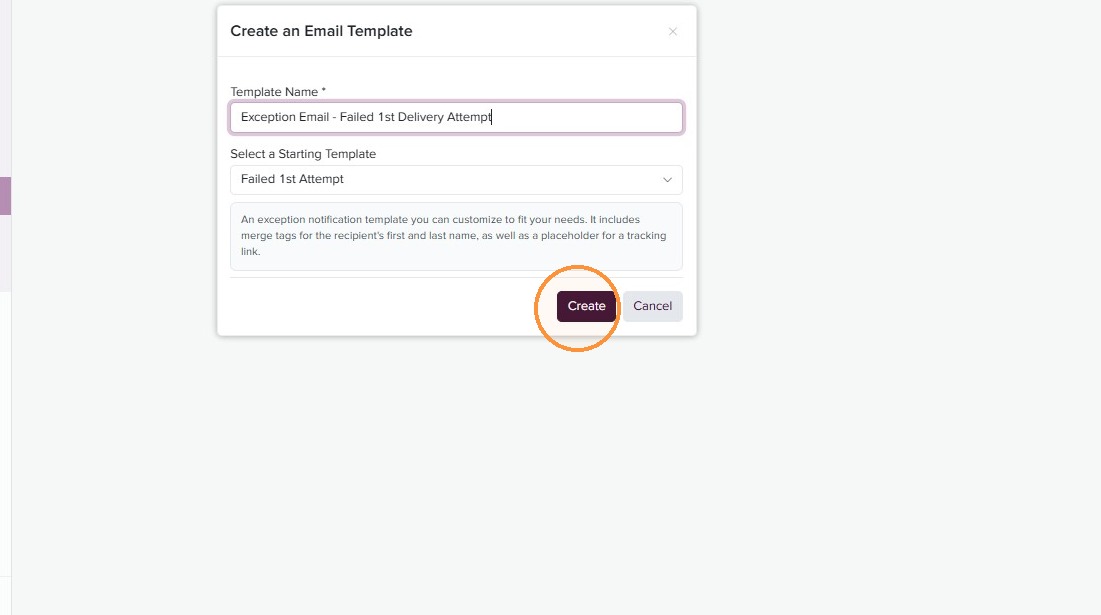
- Name your Template and click “Create”.
- Customize your email with specific copy, branded images, merge tags, linked buttons and more.
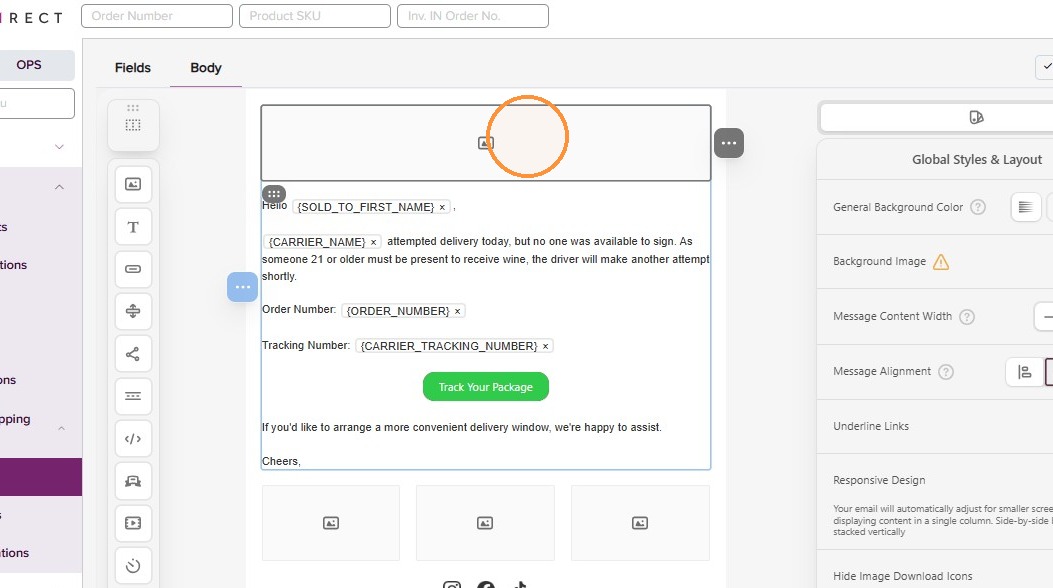
- Once you are happy with your design, move over to the ‘Fields’ tab.
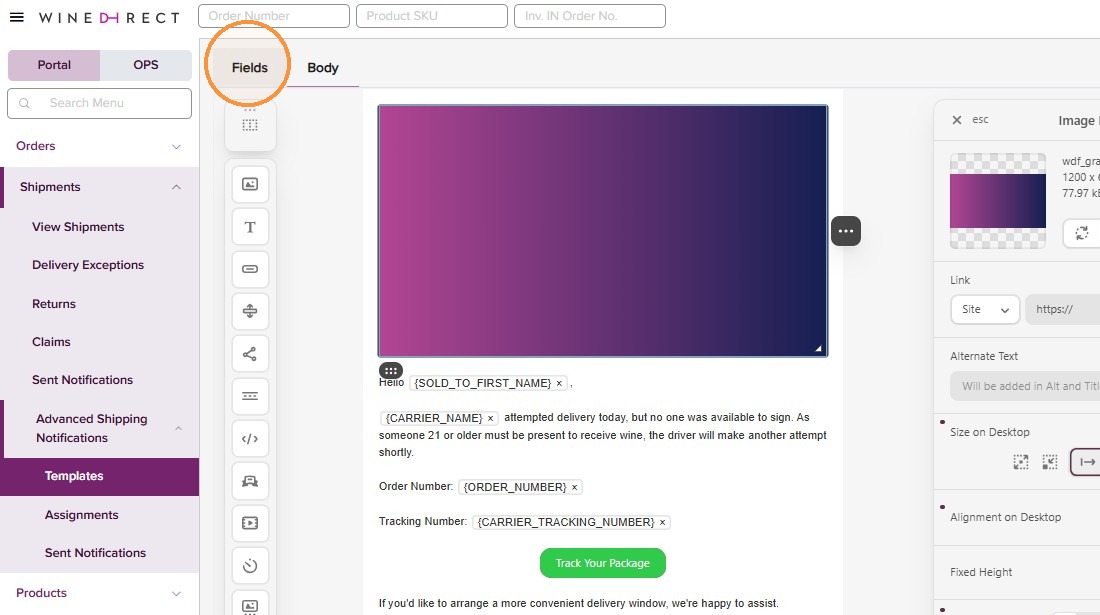
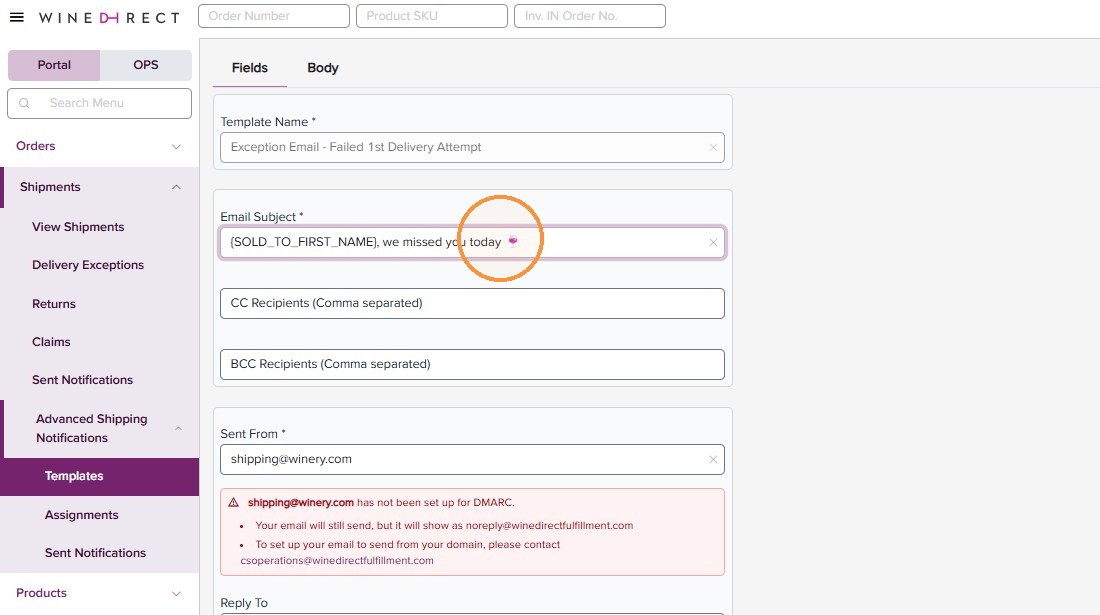
- From the Fields tab, you can customize your Email Subject with merge tags. Emojis are also supported. Add applicable CC and BCC recipients. Adjust your Sent From and Reply To email addresses. Read HERE for further information on DMARC considerations.
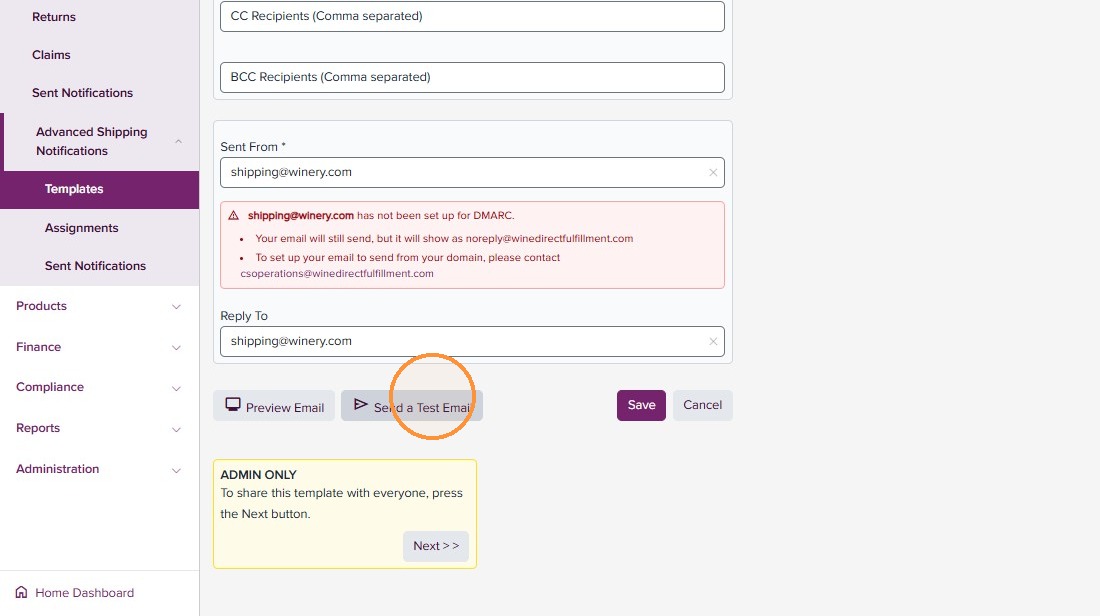
- Use the buttons to Preview Email or Sent a Test Email.
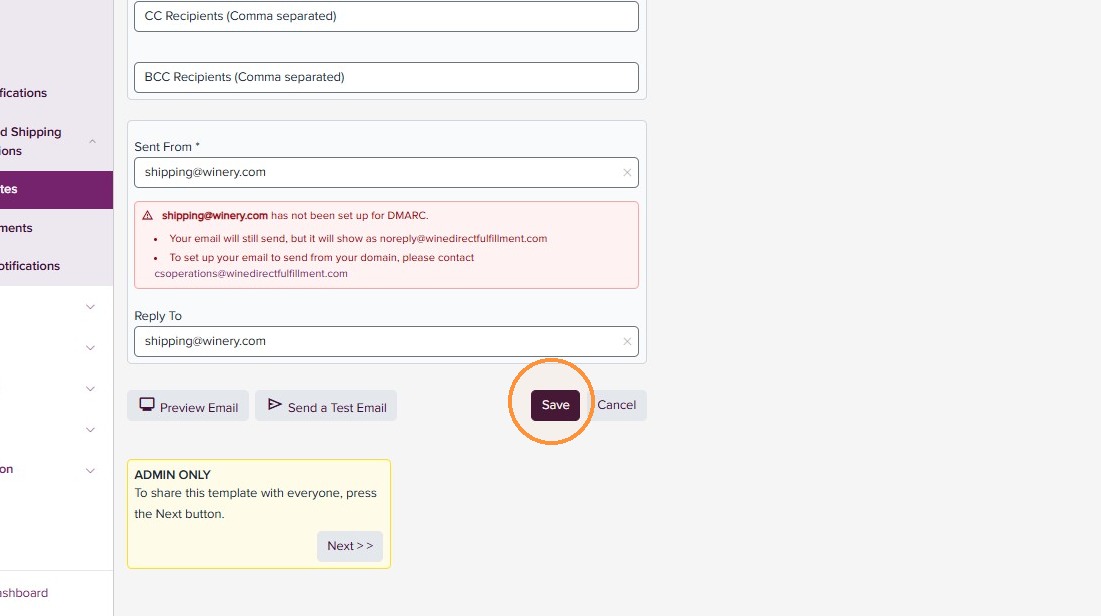
- Once you are happy with your configuration, be sure to click ‘Save’.
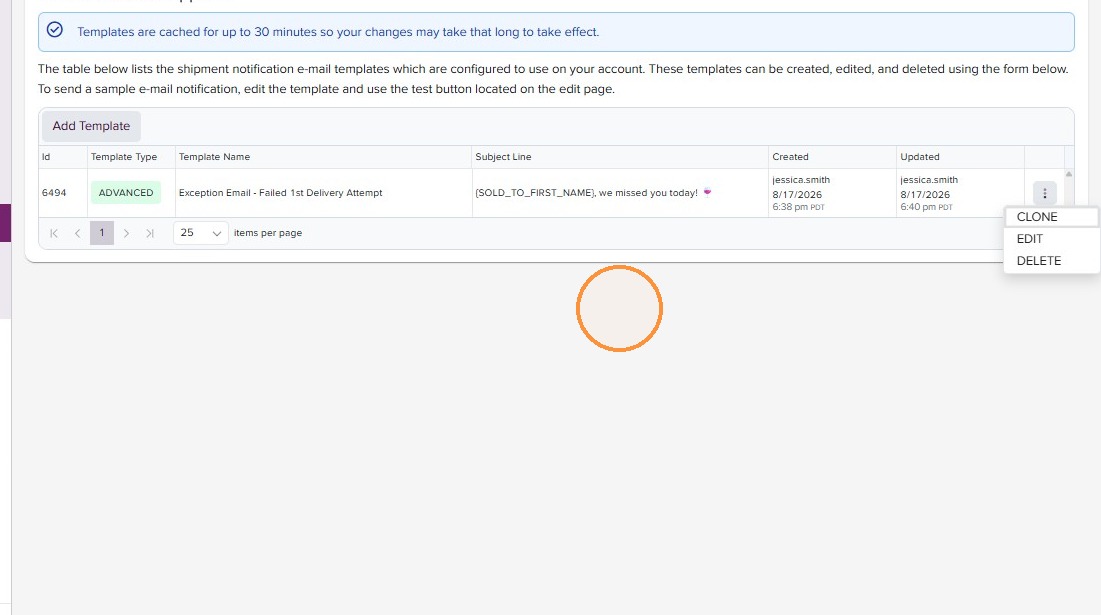
- Returning to the Templates page, you can see your newly created template and make further edits as needed. You can also clone your template to create additional template variations on copy, while retaining branded customizations. Once all your templates are created, visit the Assignments page for the next step in shipping email configuration.